StarCraft II. Part 2. Cinematic Rendering.
Let's continue digging through the StarCraft renderer.
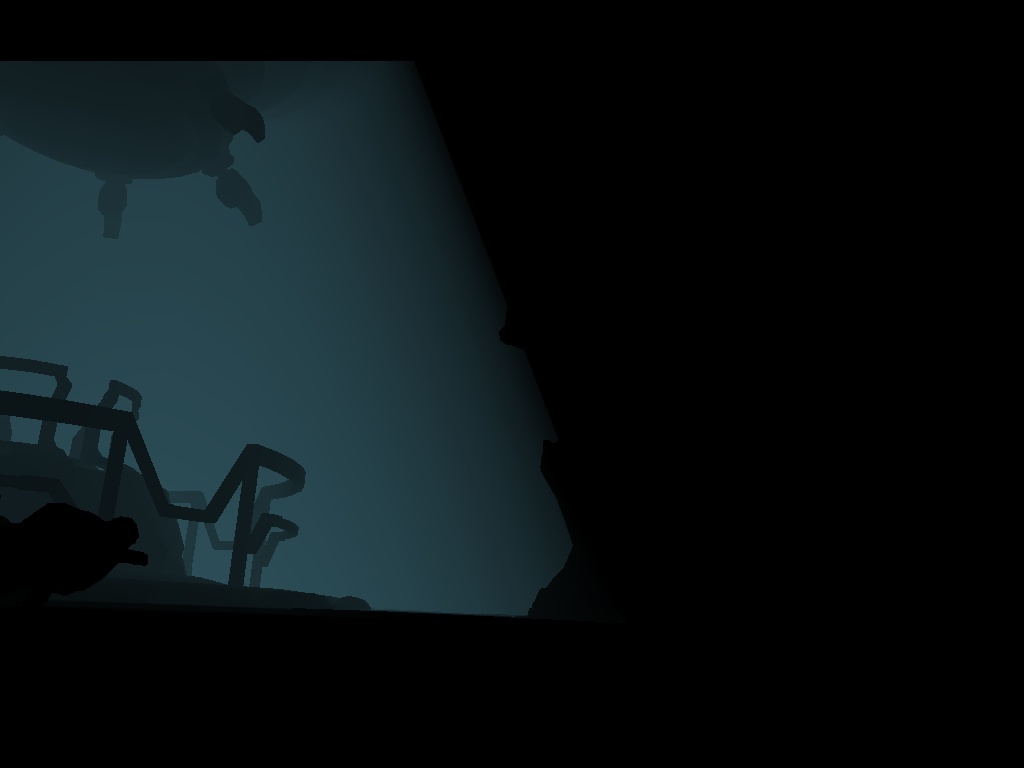
The cinematic renderer is conceptually very similar to the in-game renderer, although there are some differences. Just like in the gameplay renderer, if global light sources are present, shadow maps are generated for them first. After that, all objects are rendered into four ARGB16F render targets:
- Main buffer containing color rendered with lighting from global light sources. The alpha channel is unused.
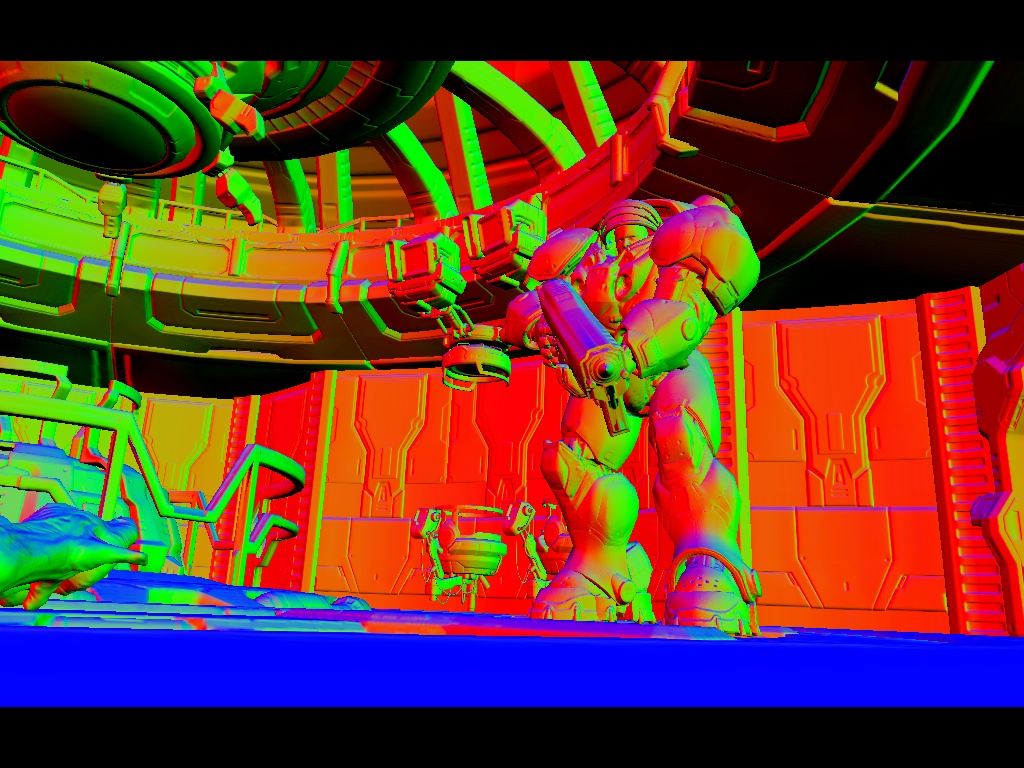
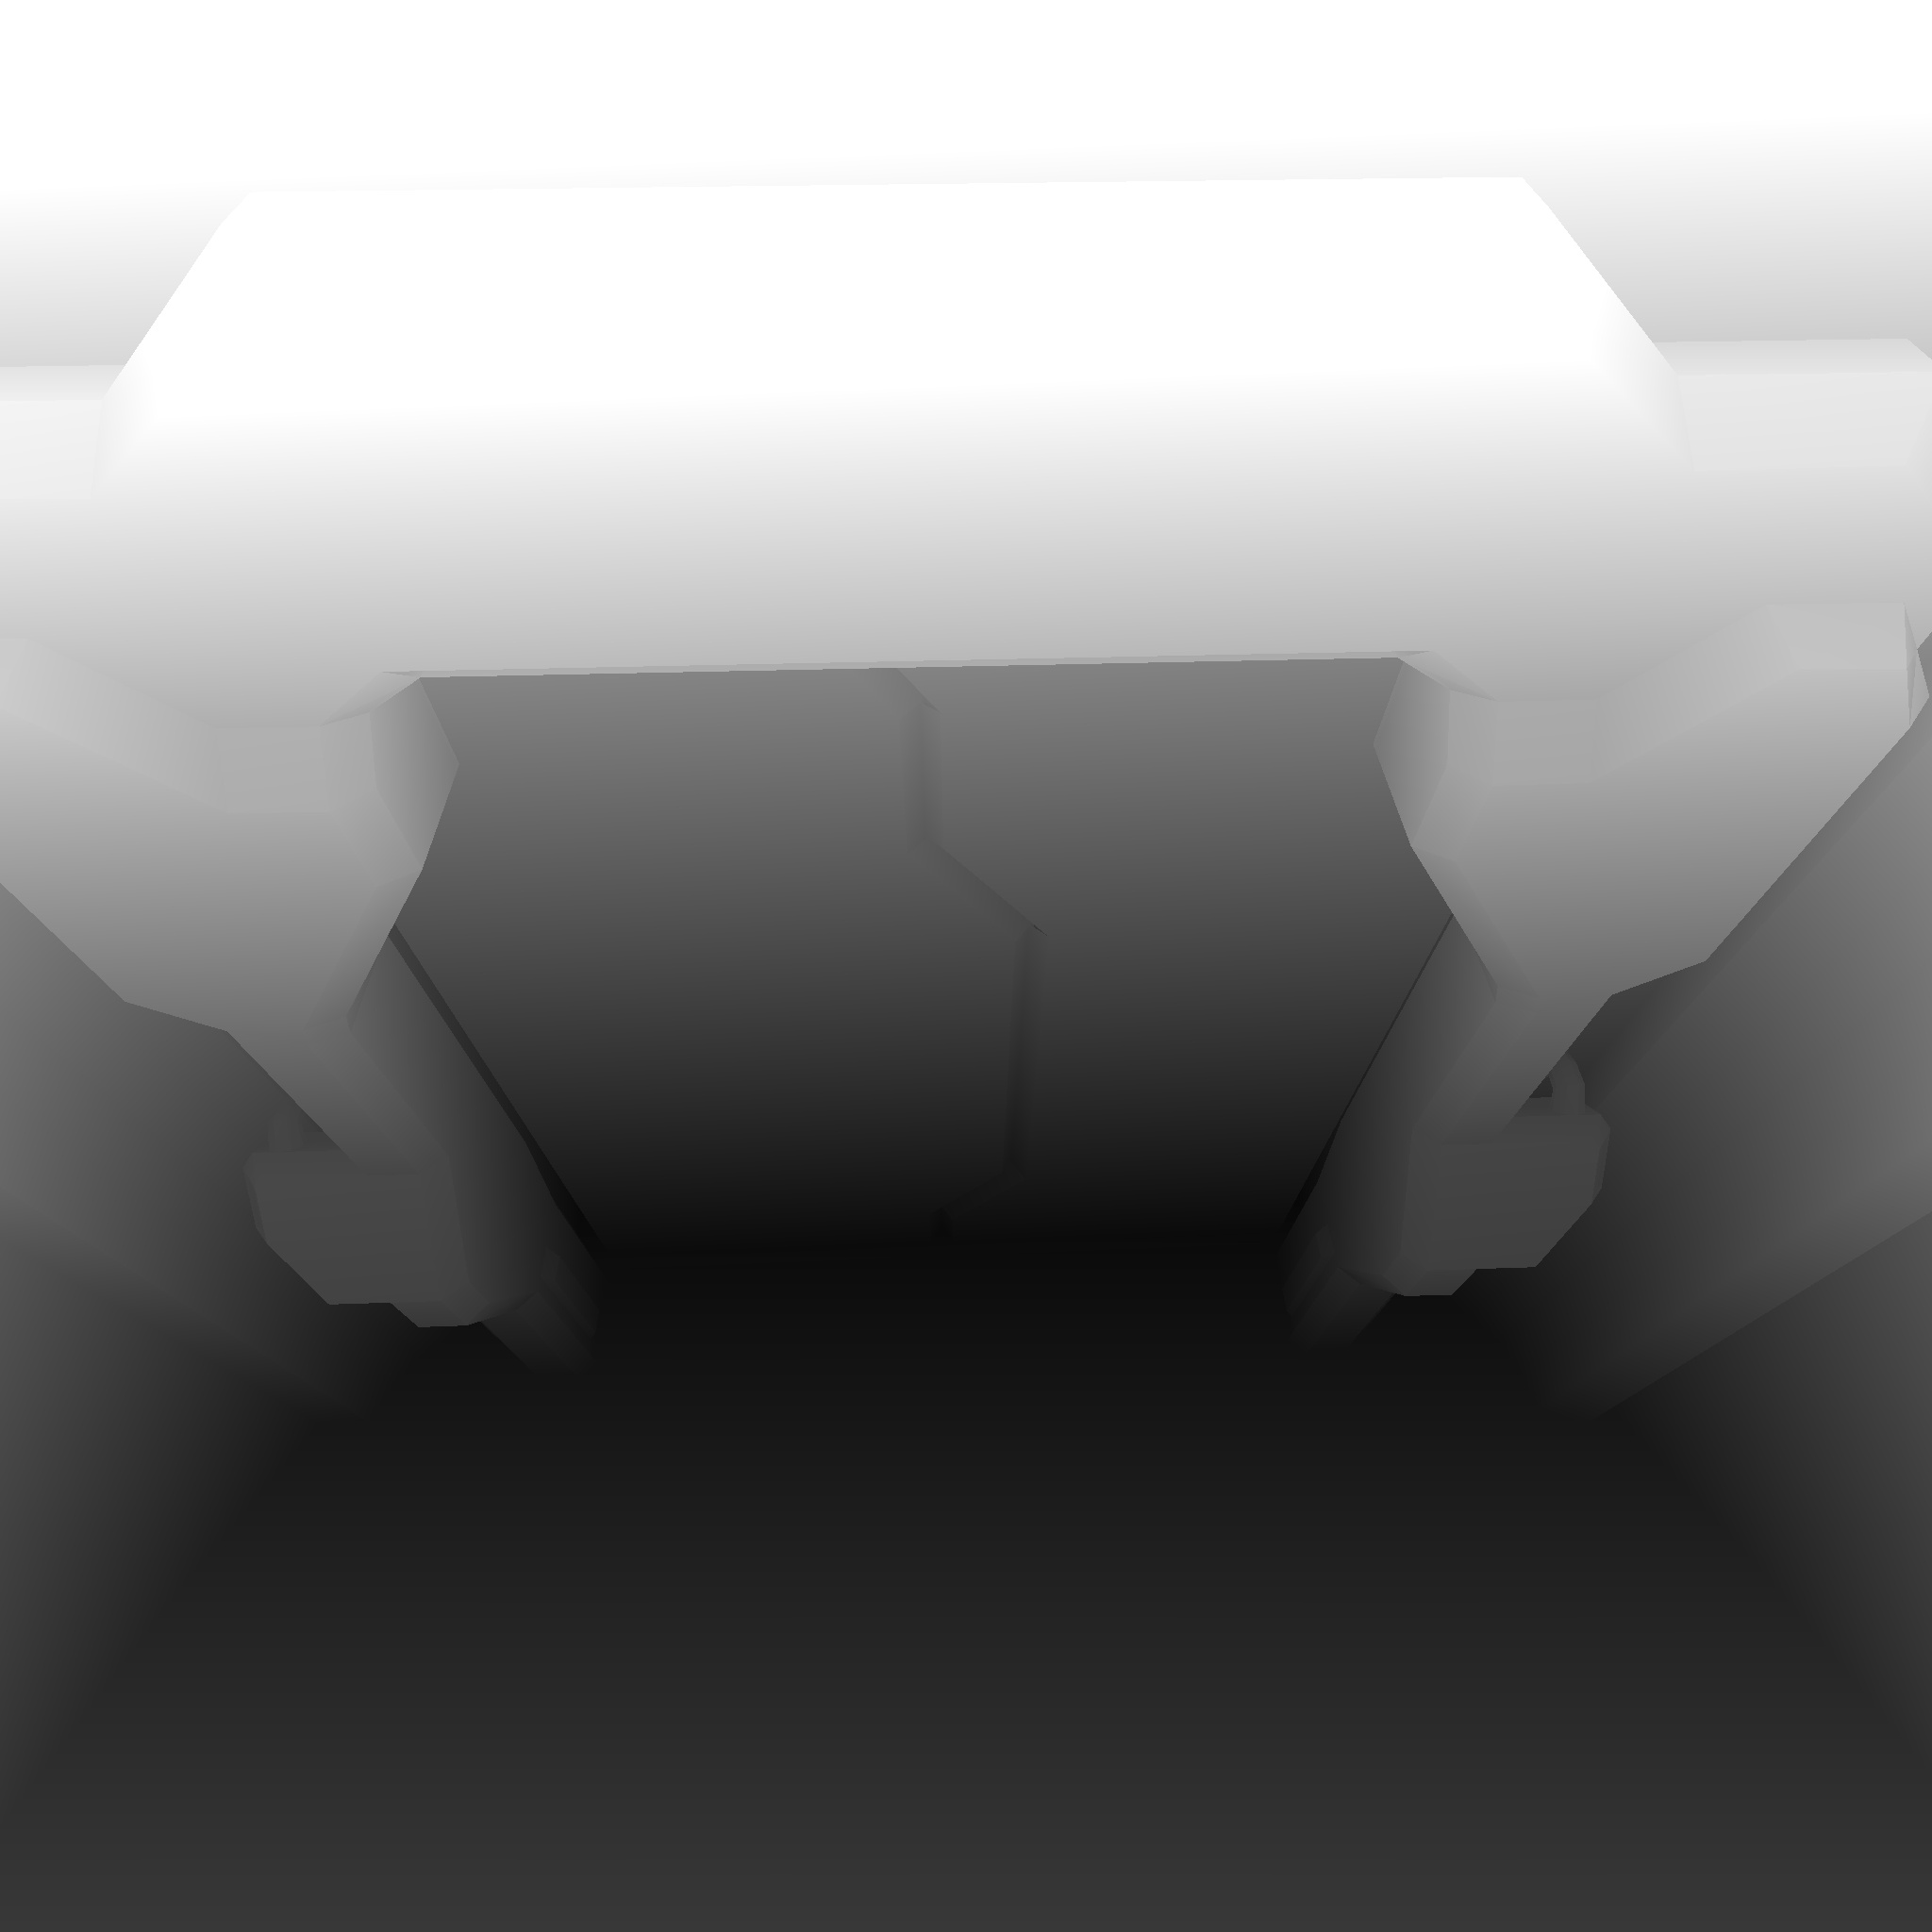
- Camera-space normals. Scene depth is stored in the alpha channel.
- Diffuse color. This buffer is later used for certain post-processing effects. The alpha channel stores a precomputed static AO factor taken from textures.
- Specular term stored in RGB. The alpha channel is unused.
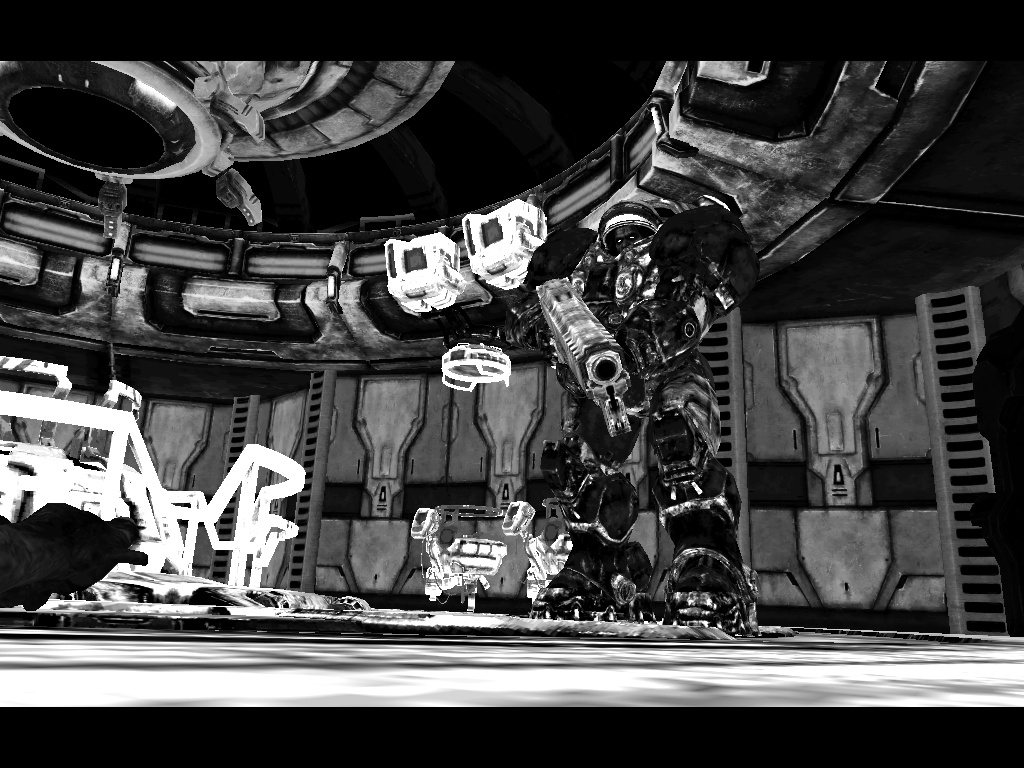
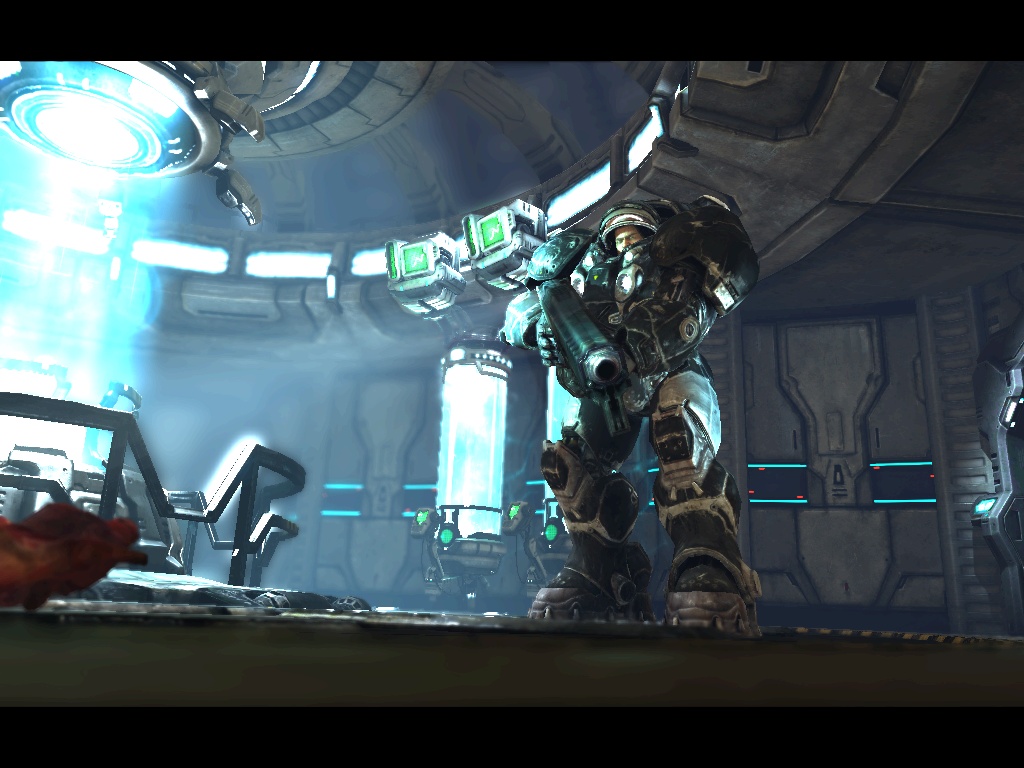
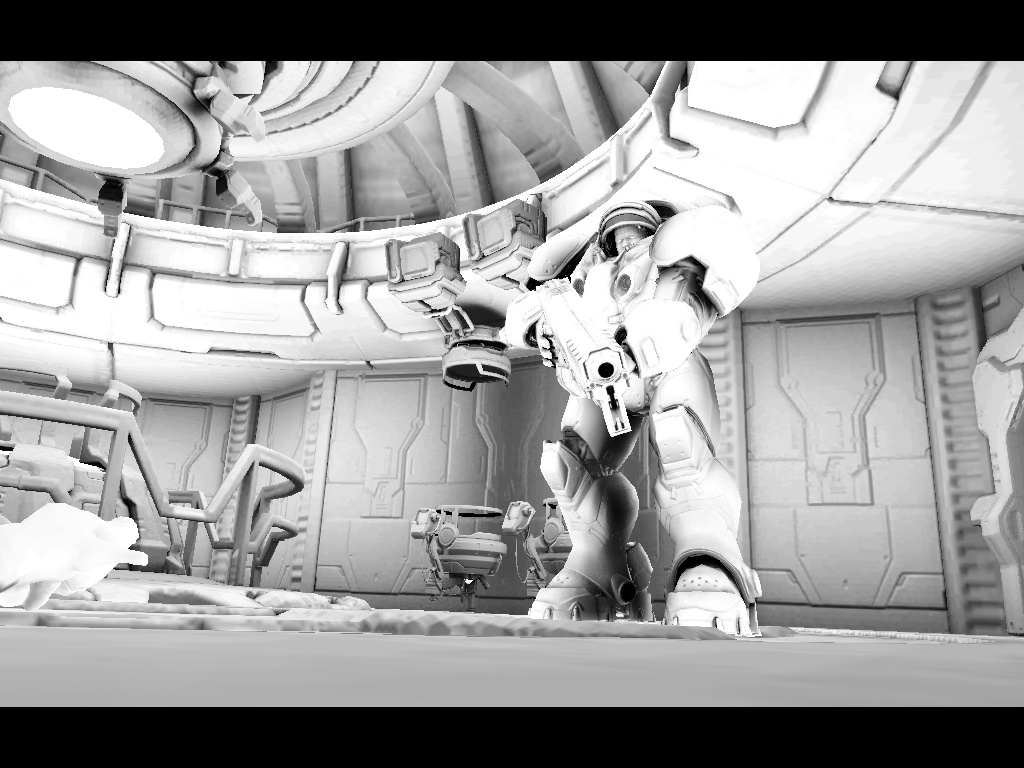
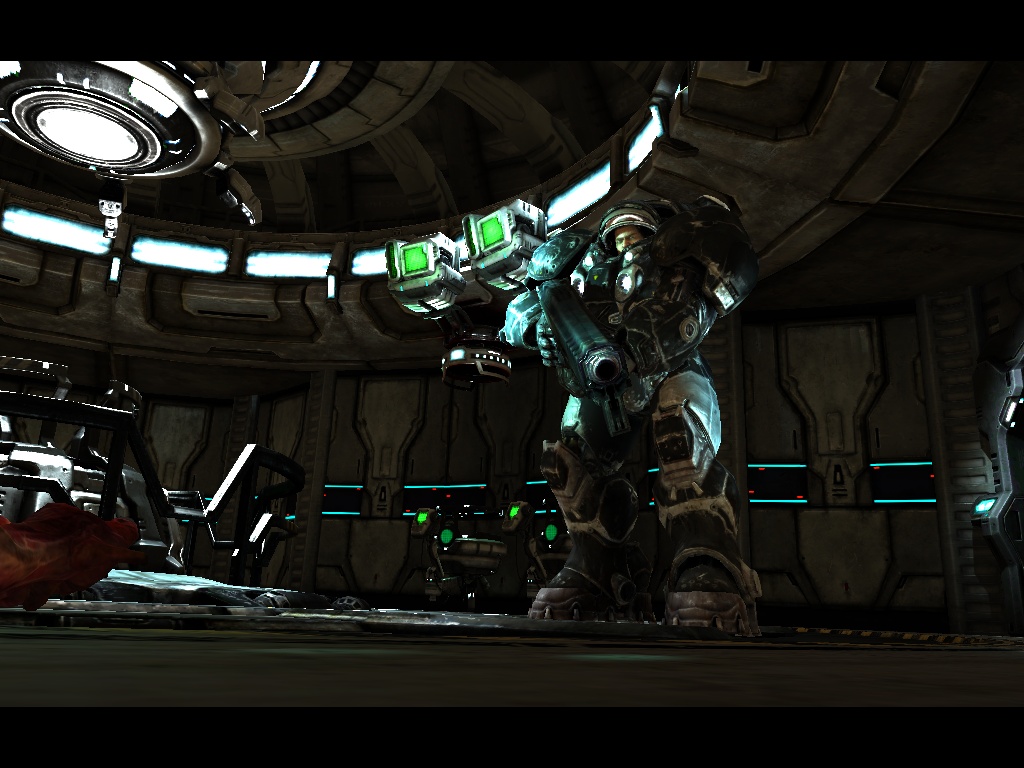
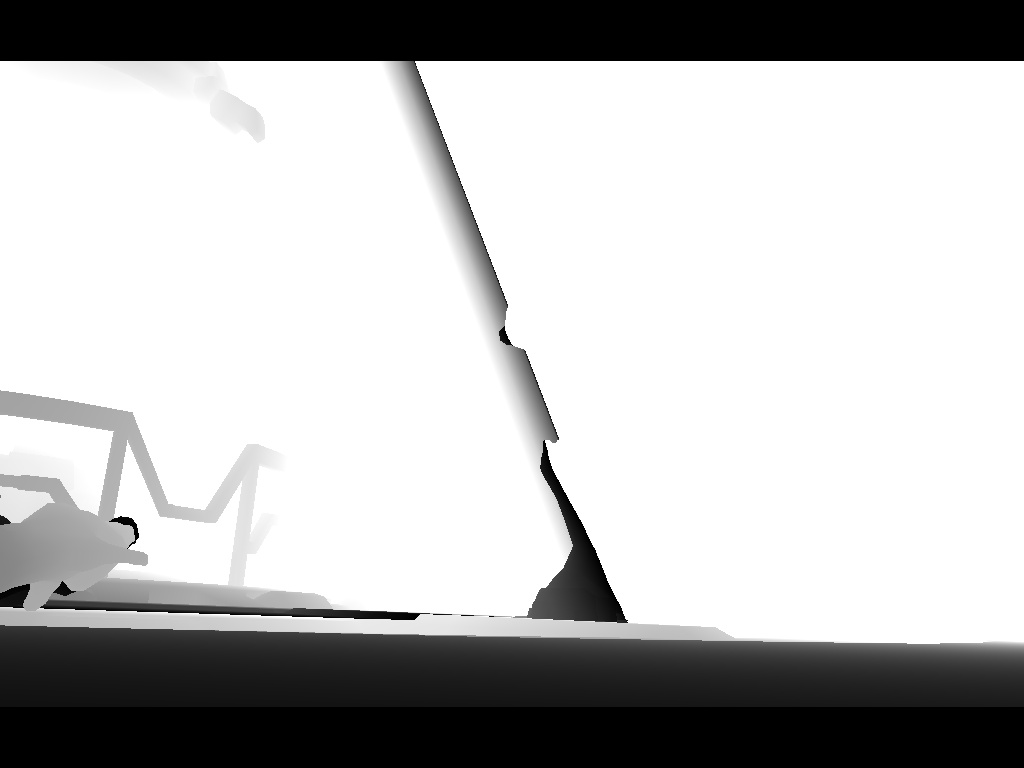
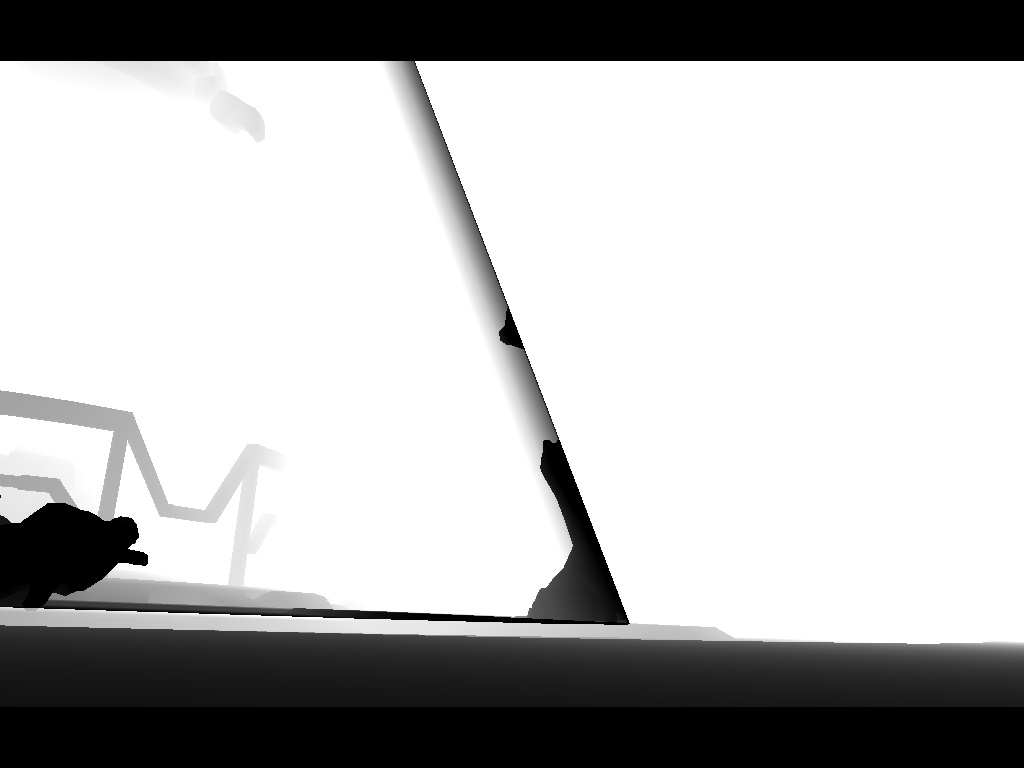
Once all buffers have been filled with the required data, local light sources are rendered. The algorithm is identical to the one described in Part 1. The influence area of a light source is marked using the stencil buffer and a geometric footprint. That same footprint is then rendered again using a lighting shader. Pure deferred shading. For light sources that cast shadows, a shadow map is rendered first from the light's point of view. (This applies to spotlights and directional lights. No omnidirectional shadow maps were observed.) The deferred light is then rendered using that shadow map. A few examples:
For example, in the scene shown in all screenshots there are:
- 24 deferred light sources without shadows
- 7 shadow-casting light sources
The image after applying all lighting looks like this:
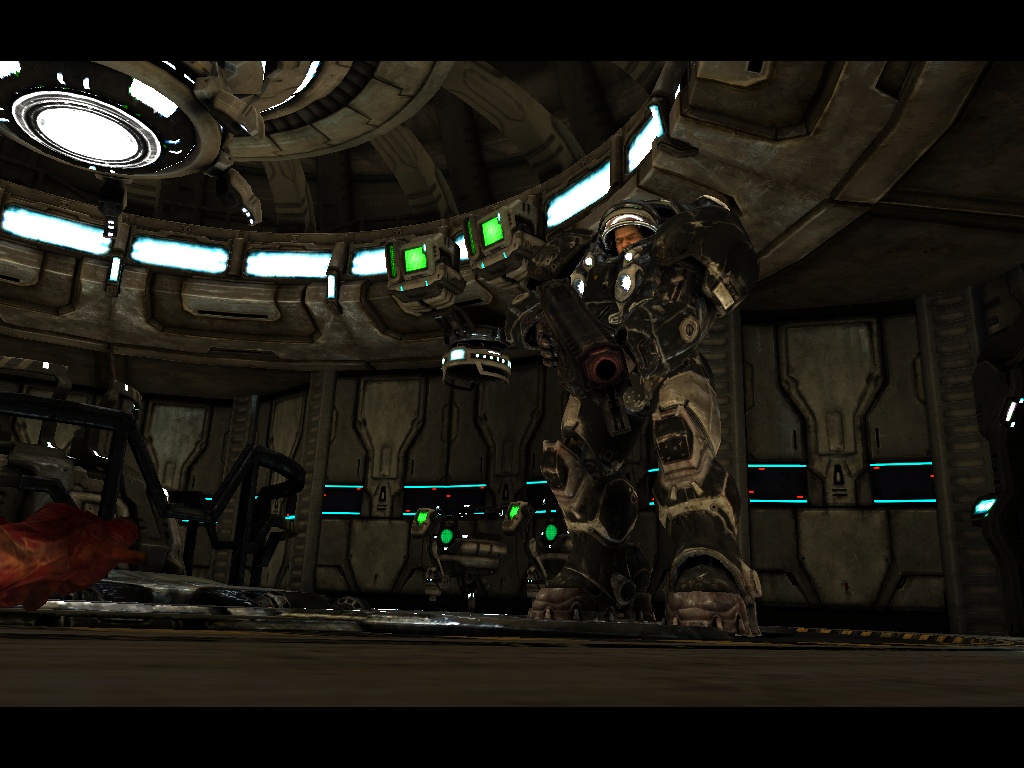
After that come all transparent objects. For large transparent objects, image distortion is applied directly on the spot as a post-process effect. The diffuse-color texture stored in render target 3 is used for this purpose. StarCraft II also contains volumetric effects such as volumetric light and volumetric fog. The effect is implemented in five passes:
- Render the back faces of the volume that defines the volumetric effect's influence area. Depth testing is enabled. Depth is written into a render target.
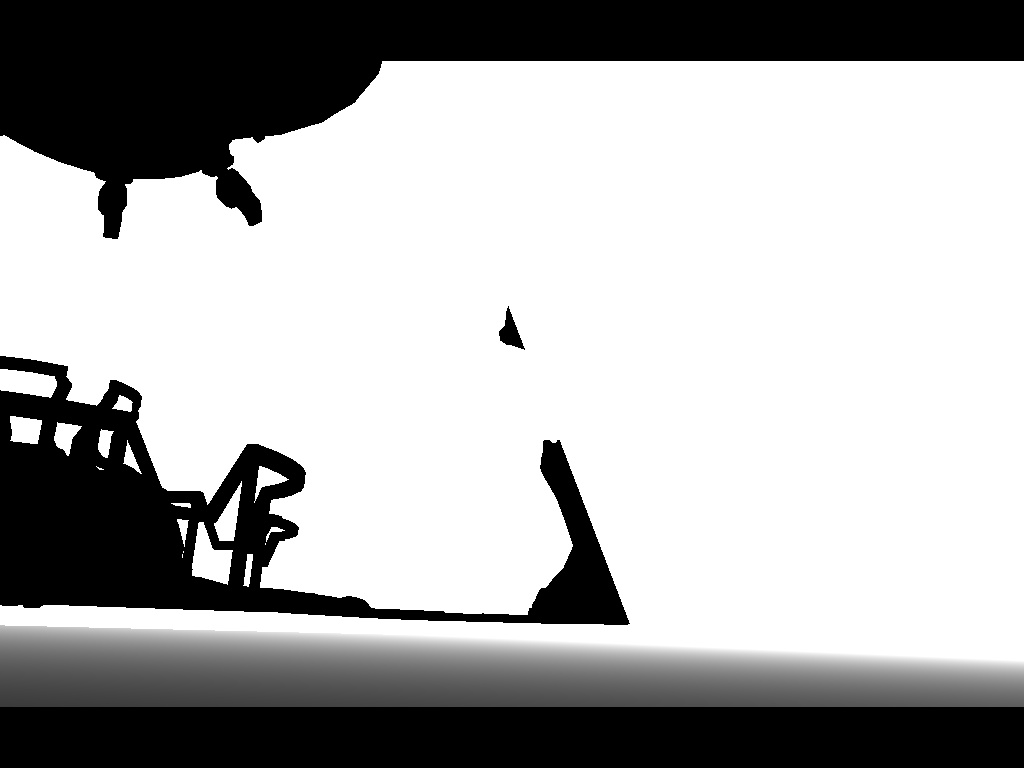
- Enable additive blending:
Blend source:      D3DBLEND_ONE
Blend destination: D3DBLEND_ONE
Blend operation:   D3DBLENDOP_ADD
Render the front faces of the volume and output negative pixel depth. As the pixels blend together, the following operation occurs:
back-face depth - front-face depth
which gives us the thickness of the volume in camera space.
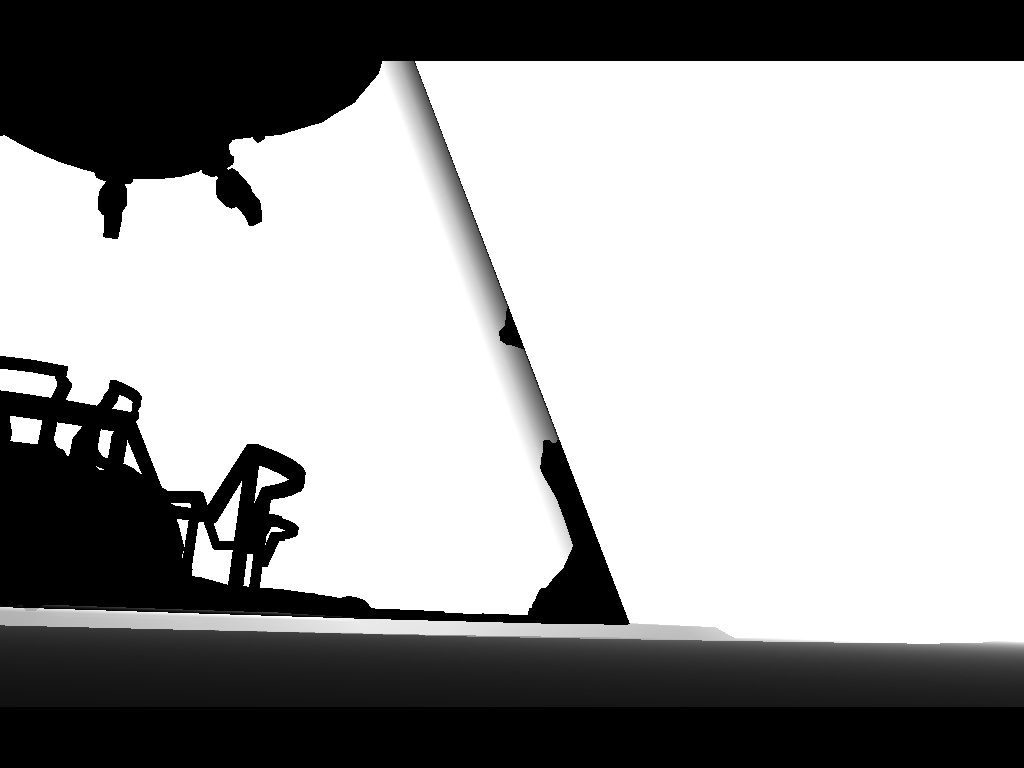
- We now have the volume thickness and can vary transparency based on that value. However, we also need to account for objects located inside the volume. To do this, we render the back faces again, but this time with an inverted depth test:
D3DCMP_GREATER
The blending mode remains the same as in the previous step.
- Since the previous step accounted for all objects in front of the back face of the volume, including those located in front of the front face, we need to correct this. We render the front faces again using the same settings as in step 3, but output negative depth. This subtracts the depth contribution of all incorrectly counted pixels that lie in front of the volumetric volume.
- Using the depth texture generated in steps 1–4, we render the volume one final time into the main color render target. Transparency is adjusted according to the accumulated depth values.
Effect only:
Combined with the rest of the scene:
Next comes Depth of Field. The effect is implemented in a fairly interesting way and follows exactly the approach described in the developer presentation that I mentioned in Part 1. I won't repeat the details here. Suffice it to say that most of the effort went into ensuring the effect behaved correctly. In particular, proper blending of objects:
- in front of the focus plane,
- inside the focus plane,
- behind the focus plane.
After DoF comes Bloom. And that's where rendering ends.
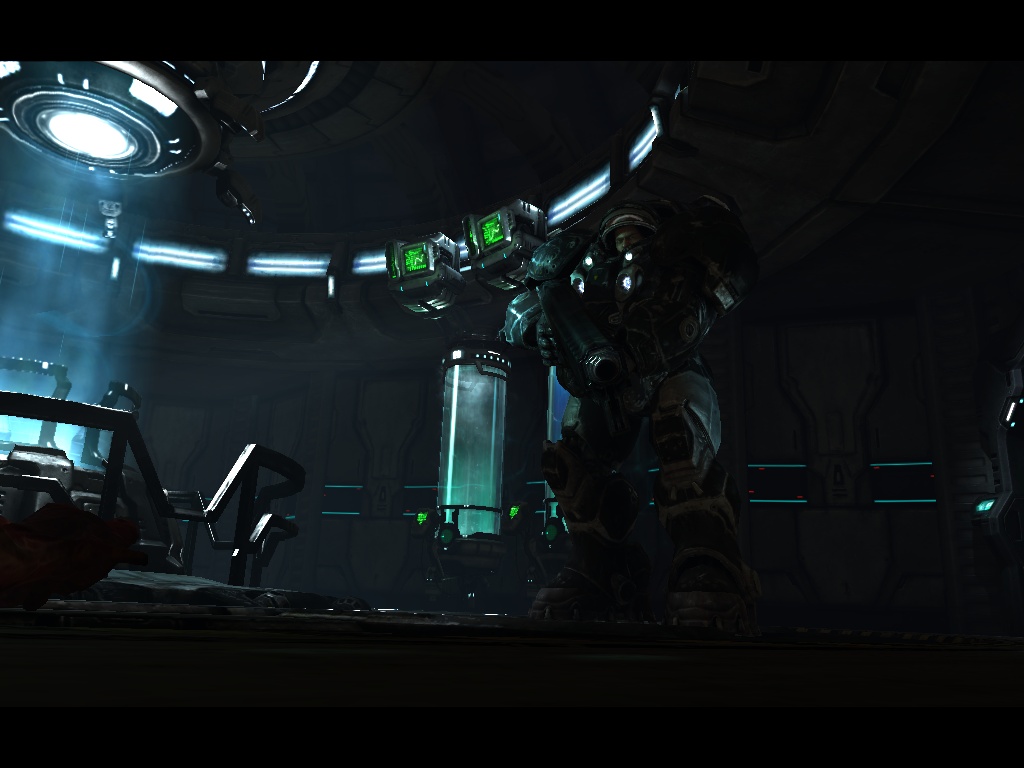
There are two additional points worth mentioning. First: Human skin rendering quality is excellent. And that's achieved without sophisticated techniques such as:
- texture-space diffusion,
- subsurface scattering.
Once again, careful material setup and well-authored textures carried the day.
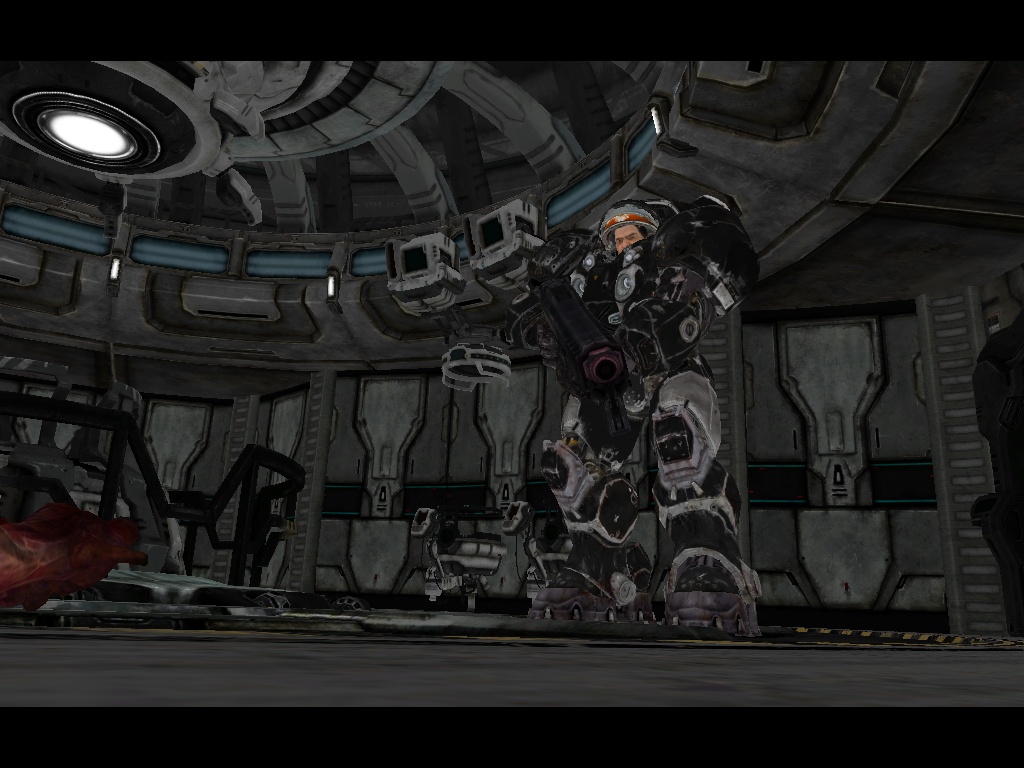
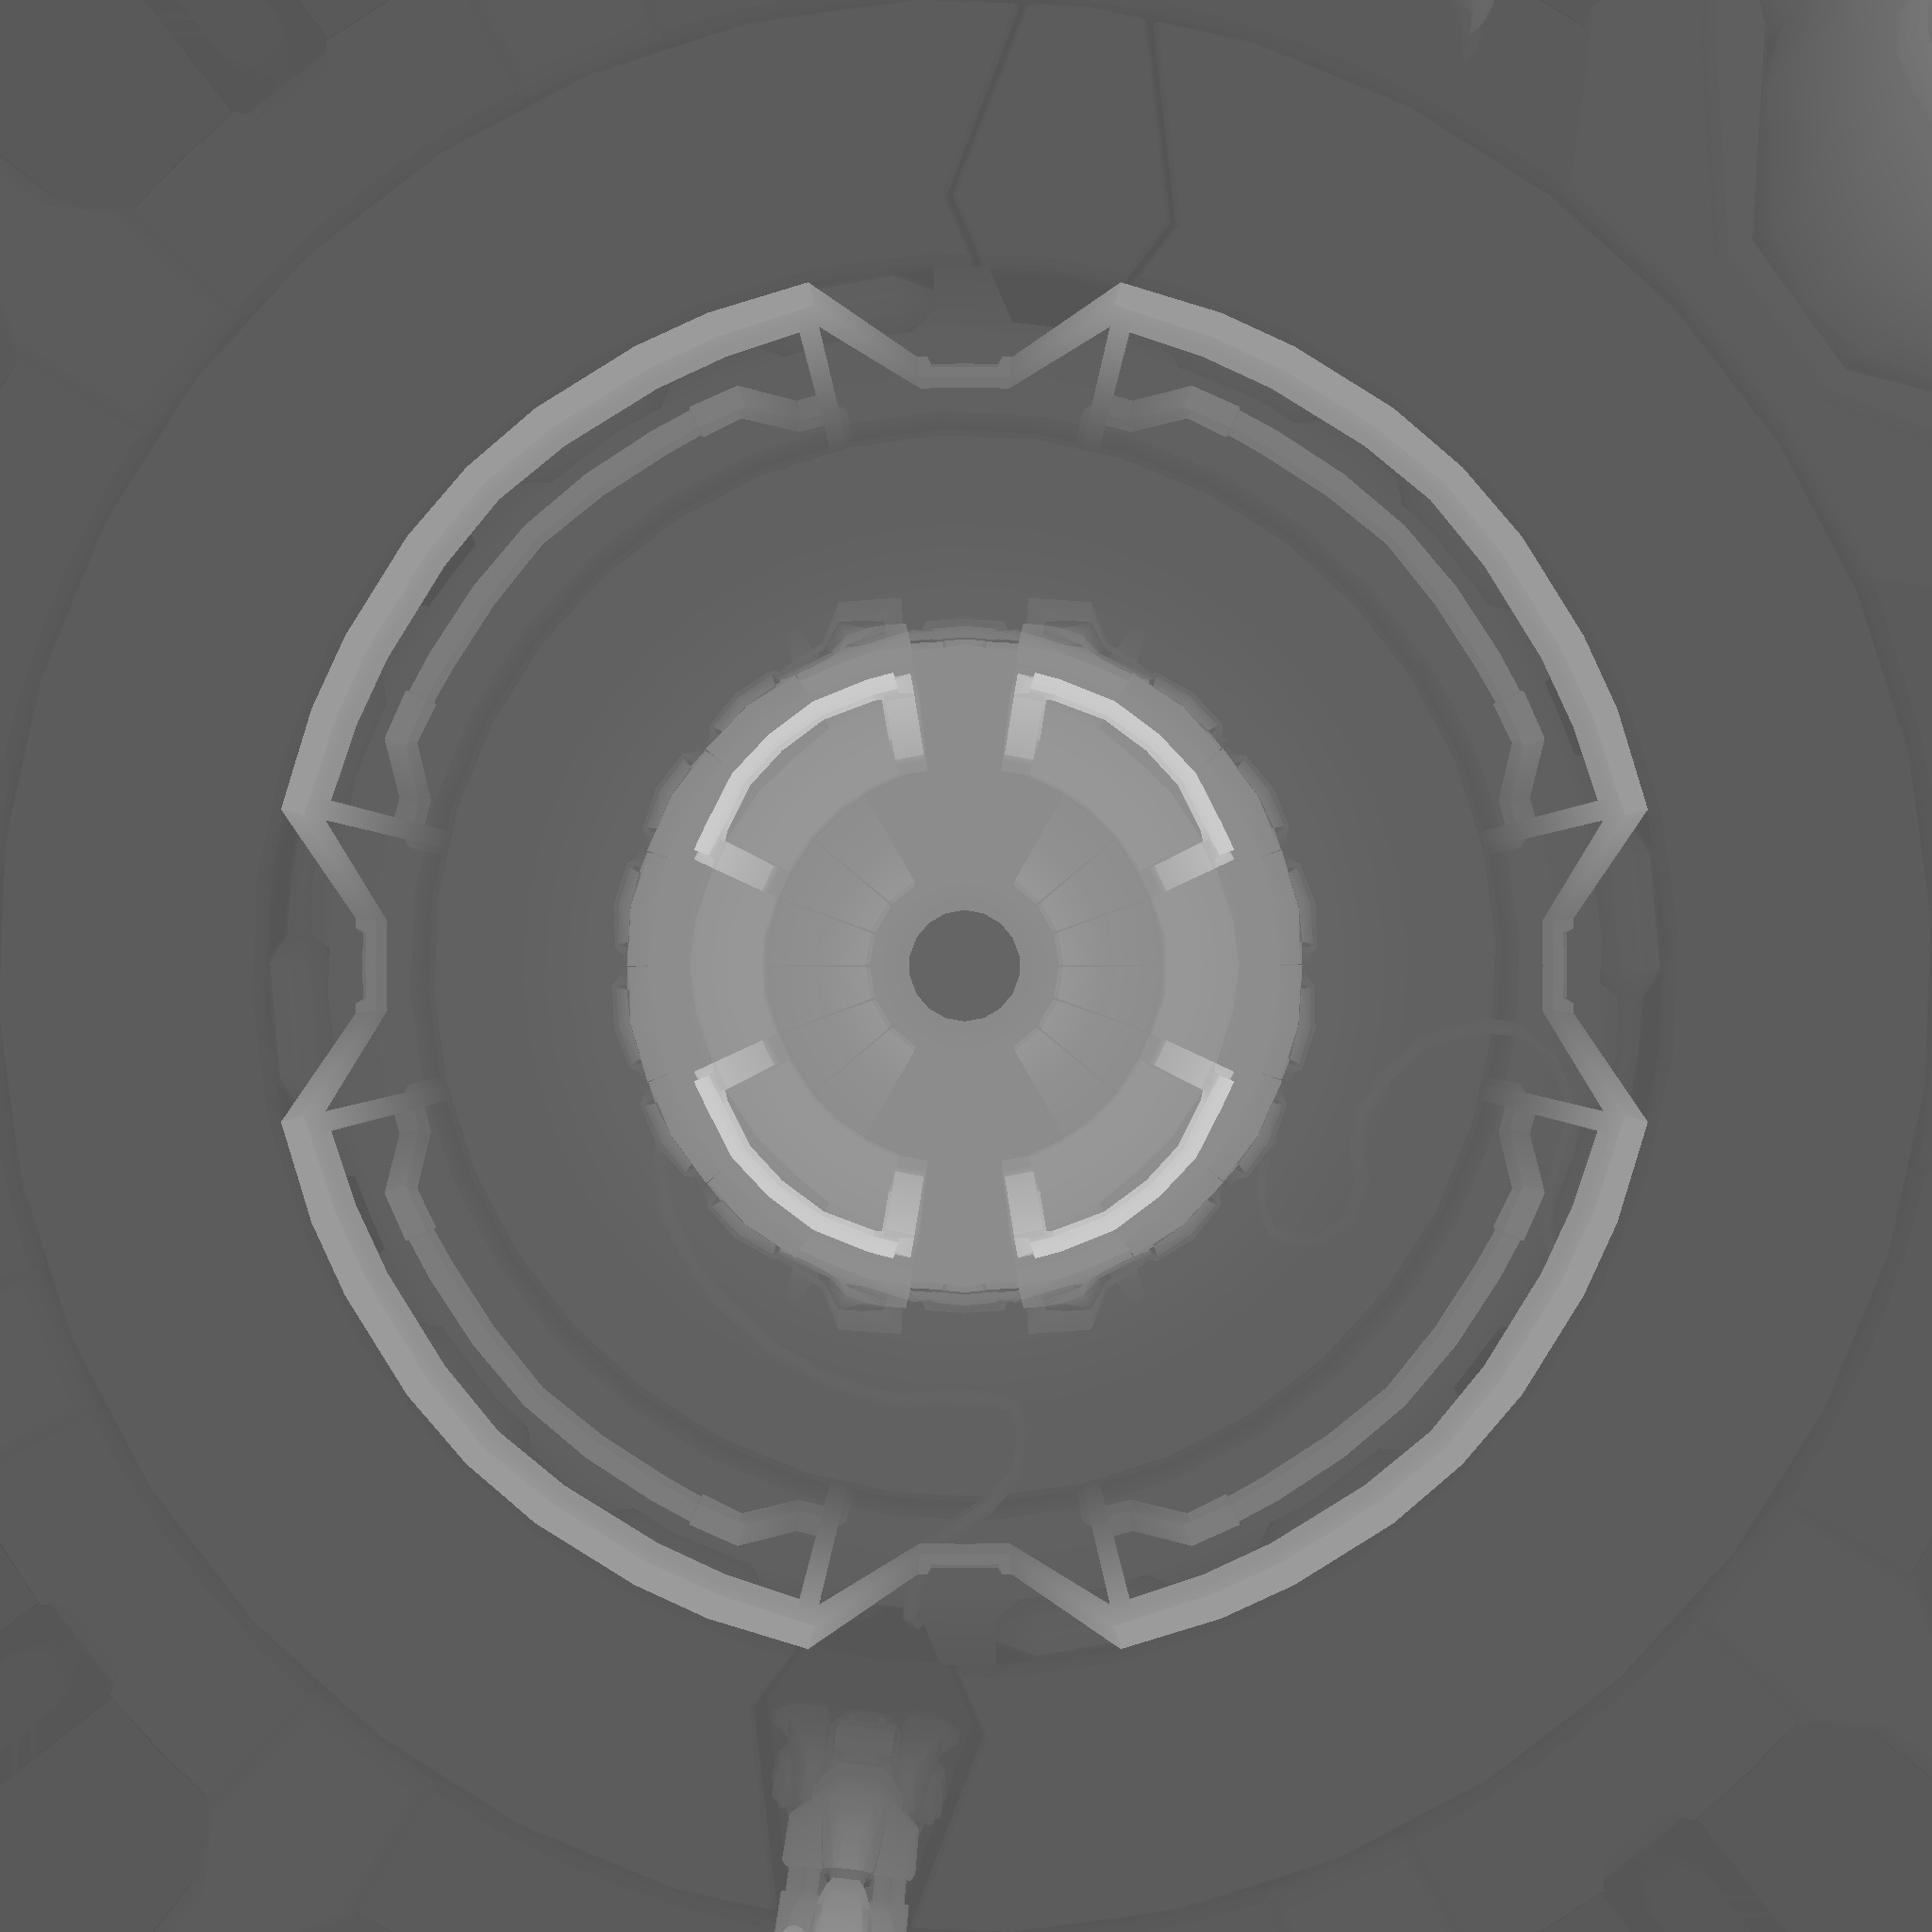
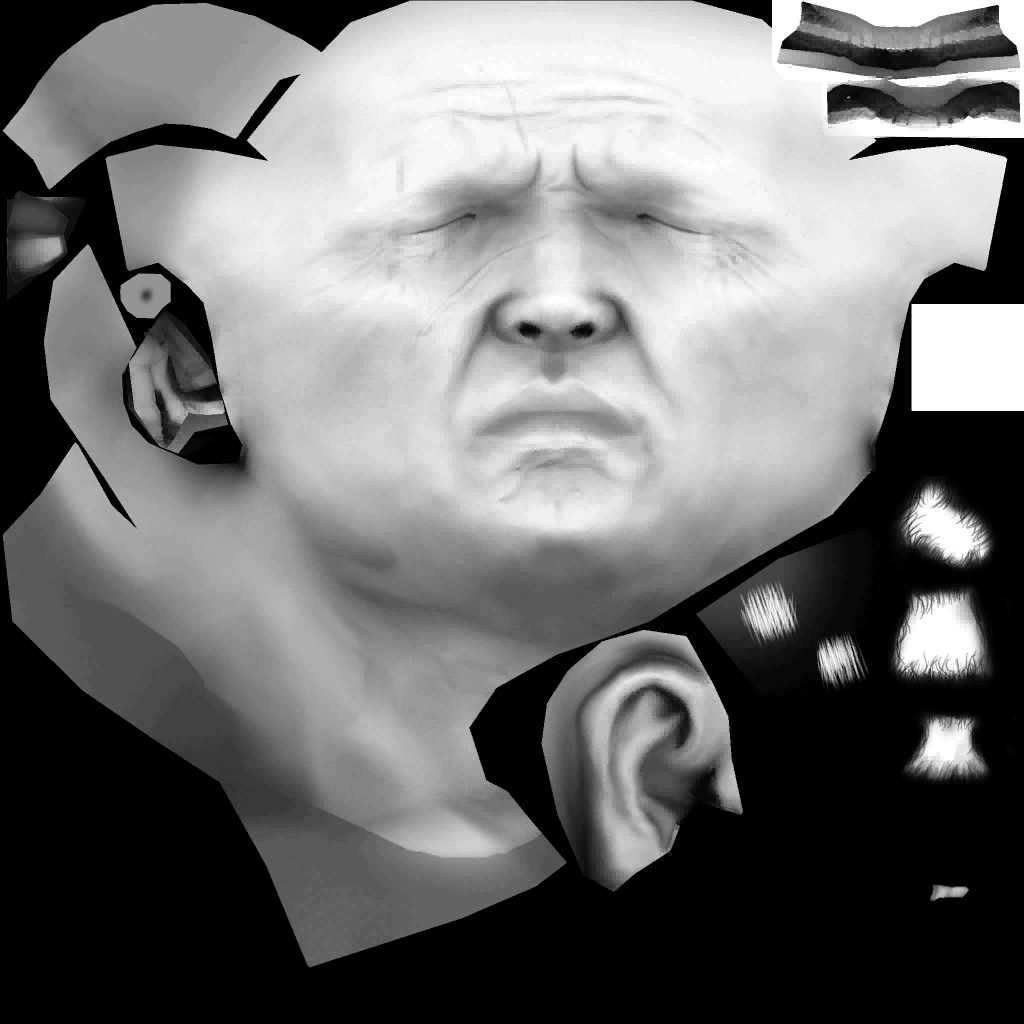
Second: The absence of SSAO. Yes, really. Despite what the developers described in their presentation, SSAO does not appear to be used. The shaders are present. I double-checked the rendering settings after noticing that the AO channel was already being populated during the main rendering pass into the four render targets. Apparently the art department was satisfied with precomputed AO. Here's a beautiful ambient-occlusion texture from Jim Raynor's face:
And that's about it. Feel free to leave comments and ask questions.