Lost Planet: Extreme Condition — A Console Alien
I've gotten a bit lazy lately. :) Must be spring. Sorry for the long break.
So, today we'll be dissecting a product from the Japanese console world that is about to arrive on PC. The game is Lost Planet: Extreme Condition. Naturally, I don't have the full version, but there is a publicly available demo. I first saw the game on Xbox 360, and it impressed me from a technological standpoint. When I finally decided to overcome my laziness and reverse-engineer something, the demo had already been available for quite some time, so I picked it.
My machine configuration hasn't changed since the previous reviews: A64 X2 4200+, GF8800GTX, 2 GB RAM. All settings maxed out.
I should note right away that I reverse-engineered the DX9 version. I'll say a few words about DX10 later.
My overall impression of the engine is very positive. A whole collection of cutting-edge technologies, combined with a very competent implementation. Everything is SM3.0 only. On the two available levels there are roughly 500 DIPs in an empty scene (character + terrain), and up to 1500 during combat with several enemies. All geometry in the game, except for a few special cases such as the UI, uses the same vertex format:
0 SHORT4N POSITION 0
8 UBYTE4 BLENDINDICES 0
12 UBYTE4N BLENDWEIGHT 0
16 UBYTE4N NORMAL 0
20 UBYTE4N TANGENT 0
24 FLOAT16_2 TEXCOORD 0
28 FLOAT16_2 TEXCOORD 1
A total of 32 bytes. What immediately stands out:
- Extremely vertex-cache friendly.
- A lot of input data, optimized very carefully.
- Position: 8 bytes instead of 12 (
float3) - Bone weights: 4 bytes instead of 16 (
float4) - Normal and tangent: 4 bytes each instead of 12 (
float3) - Texture coordinates: 2 bytes each instead of 8 (
float2)
- Position: 8 bytes instead of 12 (
There's nothing extraordinary about this. I'm only comparing it to the most common implementations. You can clearly see the attention to detail. All data must be authored carefully to remain within the acceptable ranges.
Thanks to the compact vertex format and the high performance of modern GPU vertex processors, almost all geometry in the game (except terrain) is rendered using the same skinning shader. Static models simply have a single meaningful matrix — their world matrix. Many meshes are stored inside the same vertex and index buffers and rendered using offsets.
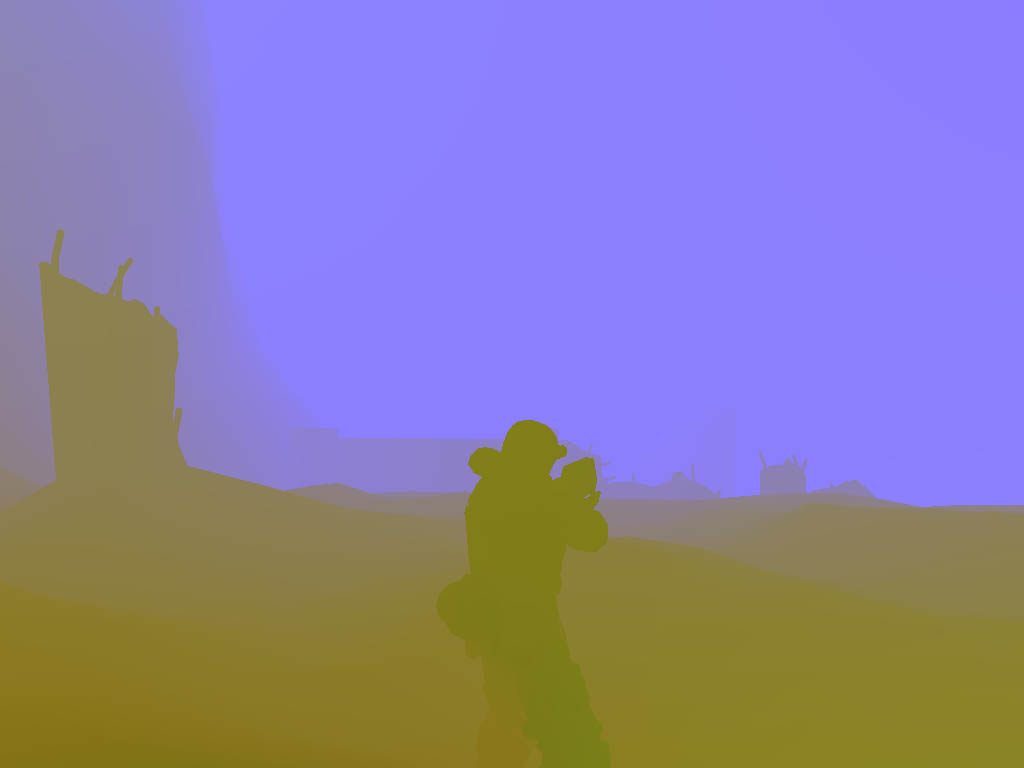
The game uses dynamically generated cubemaps. The algorithm is rather clever. An image is captured into a cubemap at the position of the main character every few frames. (It's possible that cubemap face generation is distributed across multiple frames. Unfortunately I didn't manage to catch that detail.) In addition to the current reflection, the previous reflection is stored in a separate texture. At the beginning of each frame, the previous and current cubemaps are blended into a third cubemap using weighted interpolation. This produces a smooth transition from one environment map to another. To better illustrate the process, here are a few images:
Cubemap face containing the current reflection:
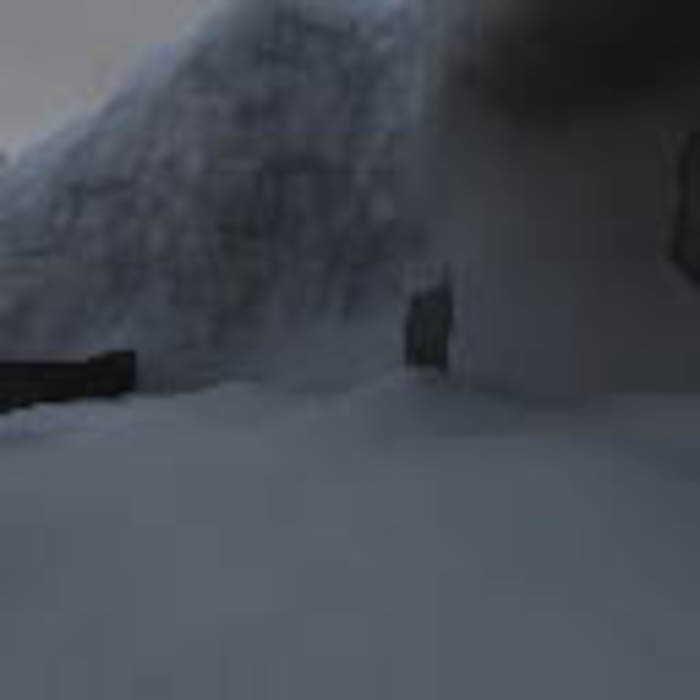
Cubemap face containing the previous reflection:
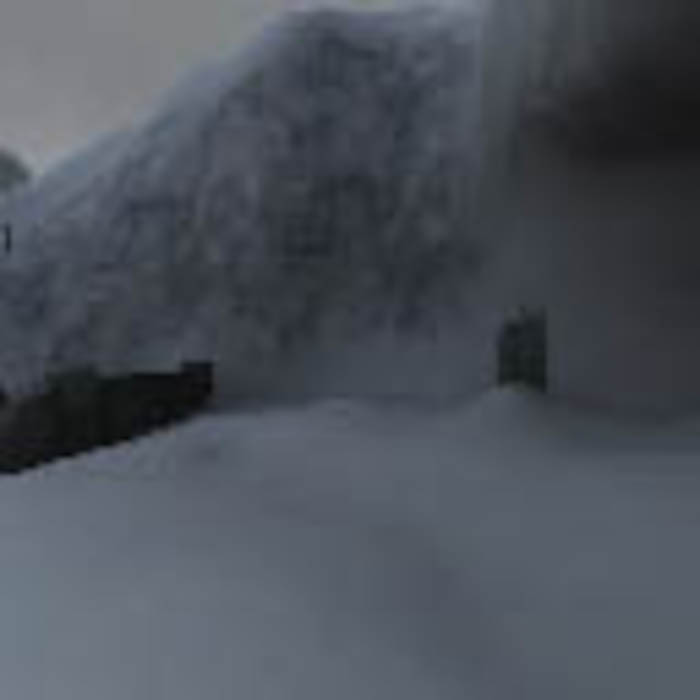
Combined reflection.
Notice the visible ghost image of the building:
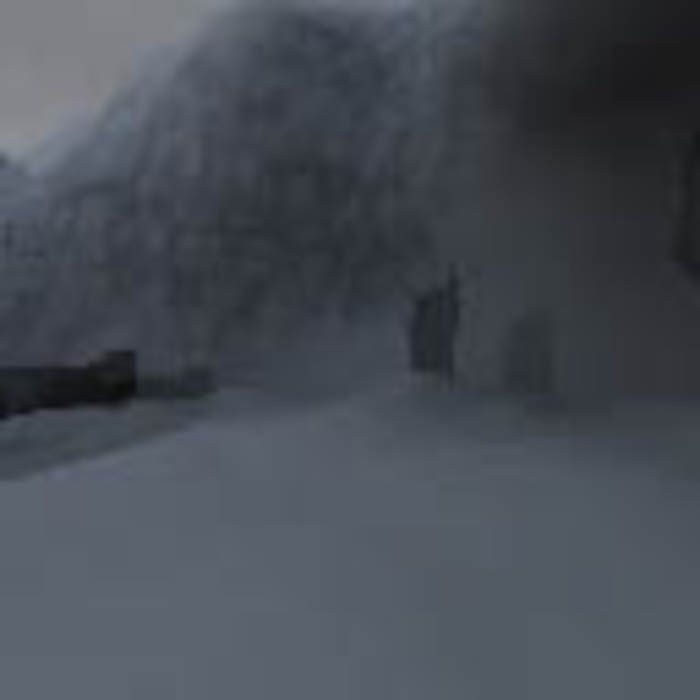
The cubemaps are 128×128 A8R8G8B8. All mip levels are blended. Visually, I couldn't really determine the usefulness of this technique, because the available levels don't contain many good reflective objects. The generated environment map is also used by the water system (more on that later), but it's difficult to notice there as well.
Next, shadow maps are generated. The game uses Cascaded Shadow Maps. The camera frustum is divided into several regions based on distance from the camera, and each region receives its own shadow texture. LT:EC uses three 2048×2048 R32F textures. Accordingly, the hardware shadow map hacks from NVIDIA and ATI are not used. It even appears that perspective warping is applied to the cascades, although that's difficult to determine visually. The shadow map stores z/w. Nothing unusual there.
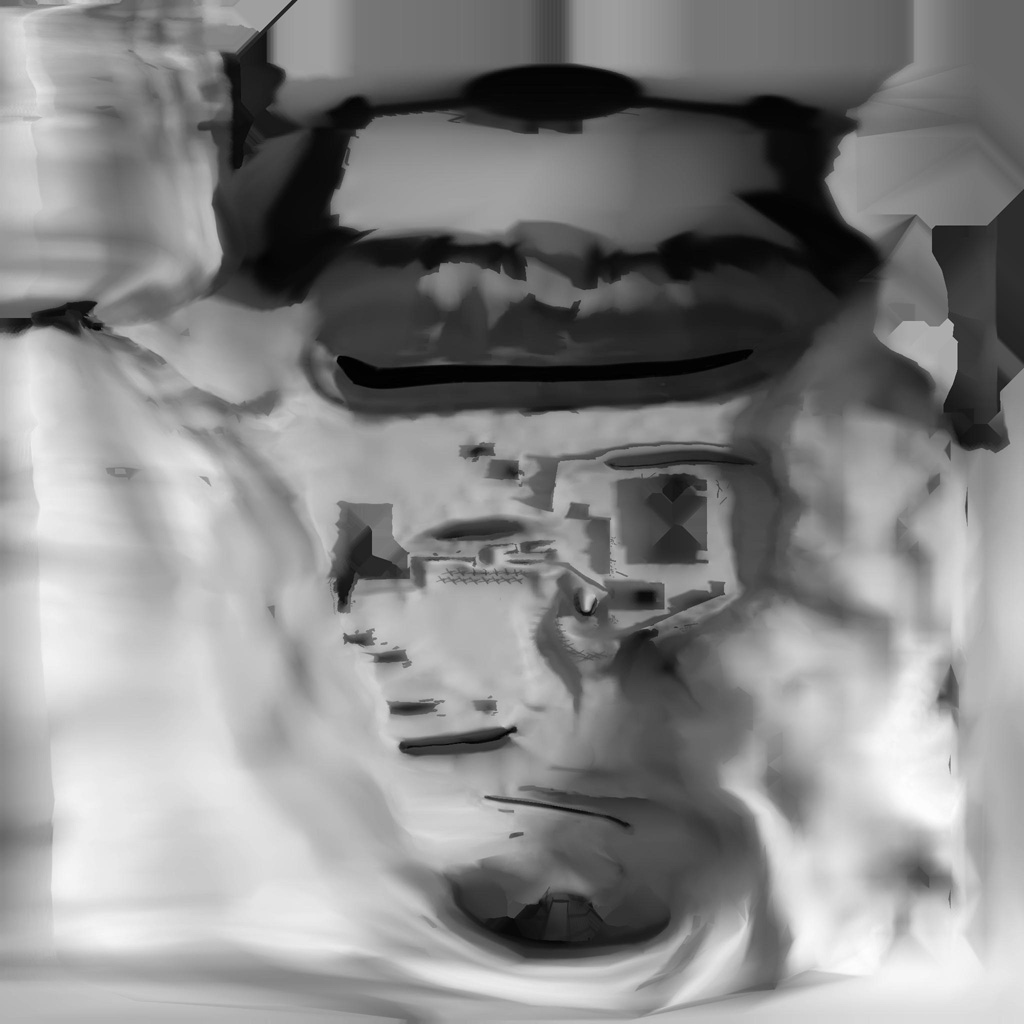
The next step is storing post-perspective Z into a texture. Format: A8R8G8B8. Resolution: full screen. The floating-point depth value is packed into three channels using the following formula:
R = frc(z * 65535)
G = frc(z * 255)
A = z – R – G
Everything is fine, except it's not entirely clear why they went through all this trouble. Packing requires 9 instructions and unpacking requires 2. Using an R32F texture would have been much simpler.
A nice picture of the packed data:
Next comes rendering of the main scene image. Everything is rendered into an A16R16G16F render target.
First pass for scene models. Huge, terrifying shaders. Vertex shader: 60 instructions. Pixel shader: 260 instructions. They're all fundamentally the same, with minor variations. I've already mentioned the universal hardware skinning (4 bones). Lighting is entirely per-pixel. There are 8 dynamic point lights. (More may be supported, but I didn't see them in the code.) Four important lights. Four less important lights. The first group differs from the second only by the presence of specular lighting. Lights are enabled and disabled using boolean registers. The calculations are standard (similar to the FFP), except for the attenuation formula. Personally, I've always found the FFP attenuation formula unnecessarily complicated. This one is much simpler. (In fact, I've used something very similar myself.)
lightIntensity = 1 - saturate((distance - startFadeDist)/fadeDist)
Illustration:
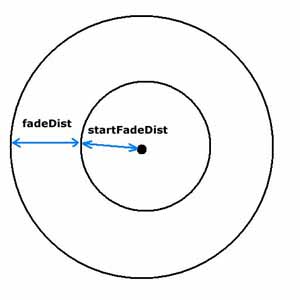
If the shaded point lies inside the inner circle, the light intensity is at its maximum. Within the ring between the inner and outer circles, intensity decreases linearly from 1 to 0. Nearby objects are lit using normal maps. For distant objects, normals are taken directly from the vertices. The normal maps use DXT5 compression. Only the green and alpha channels are used for the X and Y vector components. The Z component is reconstructed as:
z = 1 - x² - y²
Information about normal map compression can be found here: http://developer.nvidia.com/object/bump_map_compression.html Static lighting is packed into seven coefficients and evaluated using Spherical Harmonics Lighting. (See the previous reverse-engineering article for details.) Fog is also taken into account.
There is an interesting detail regarding ambient lighting. Ambient lighting is not constant across the entire scene. Instead, it is stored in a texture. This allows certain parts of models to receive more ambient illumination than others.
All shaders have several variations. For example, large objects use an ambient occlusion map. Small objects do not. Completely static objects (terrain, buildings) use lightmaps instead of SH lighting. Which is absolutely the right choice: one texture fetch is cheaper than a dozen arithmetic instructions. The dynamically generated environment cubemap described at the beginning of the article is also used.
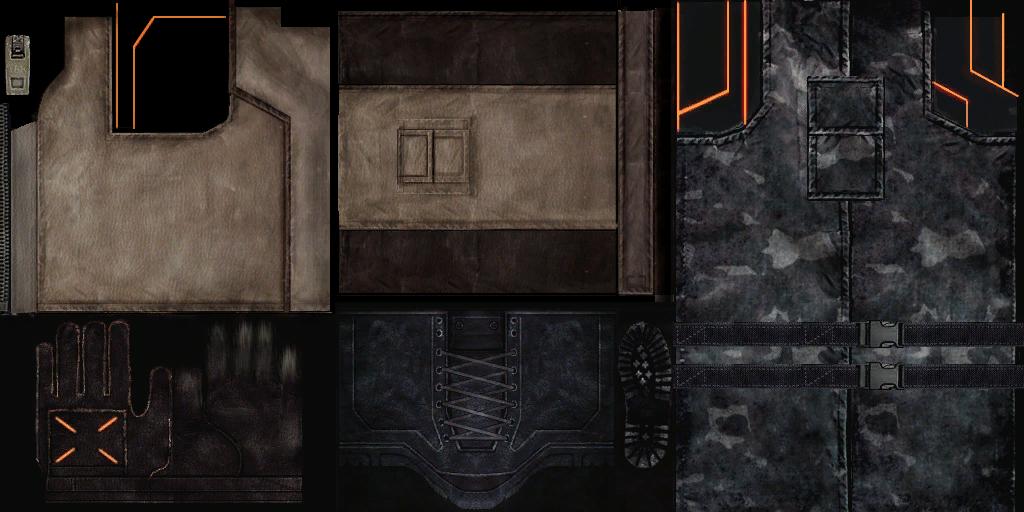
Character diffuse texture:
Ambient texture:

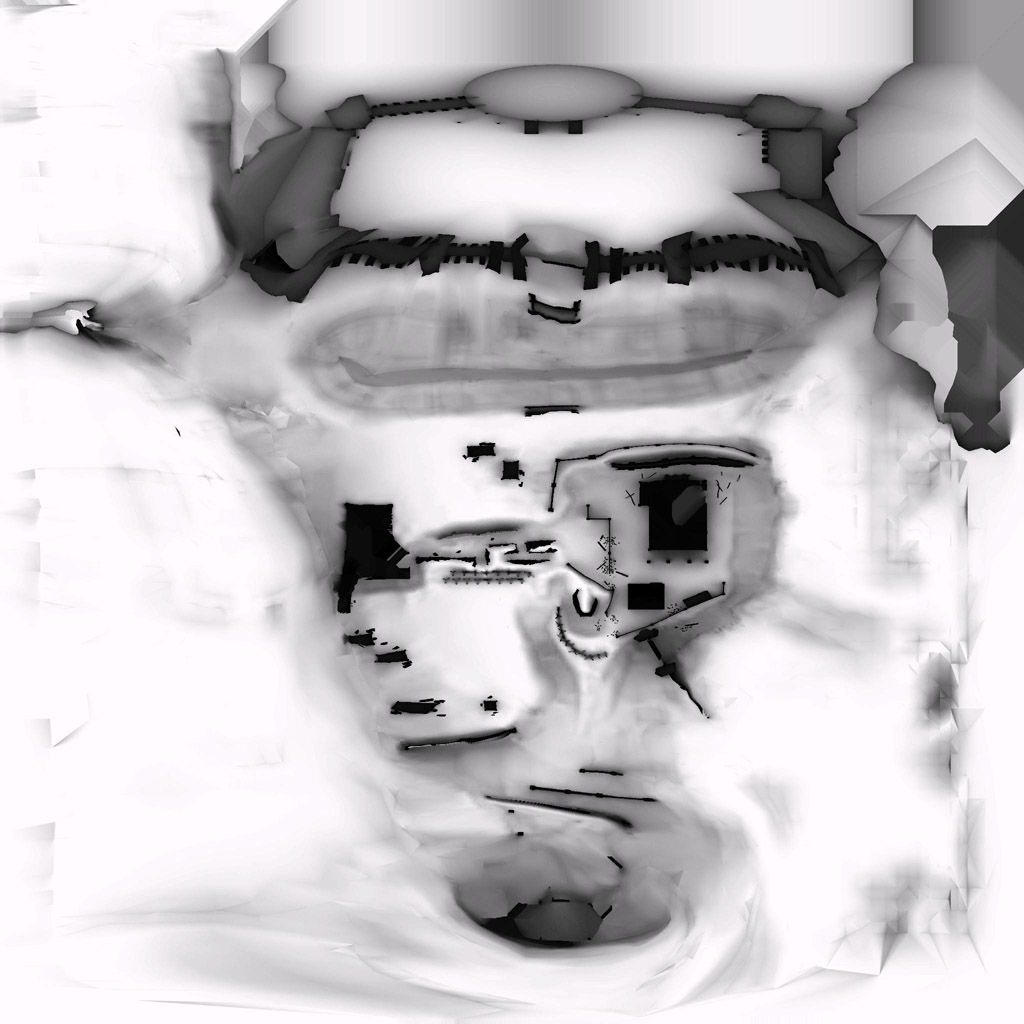
Ambient occlusion texture for terrain.
(The original was 2048×2048.)
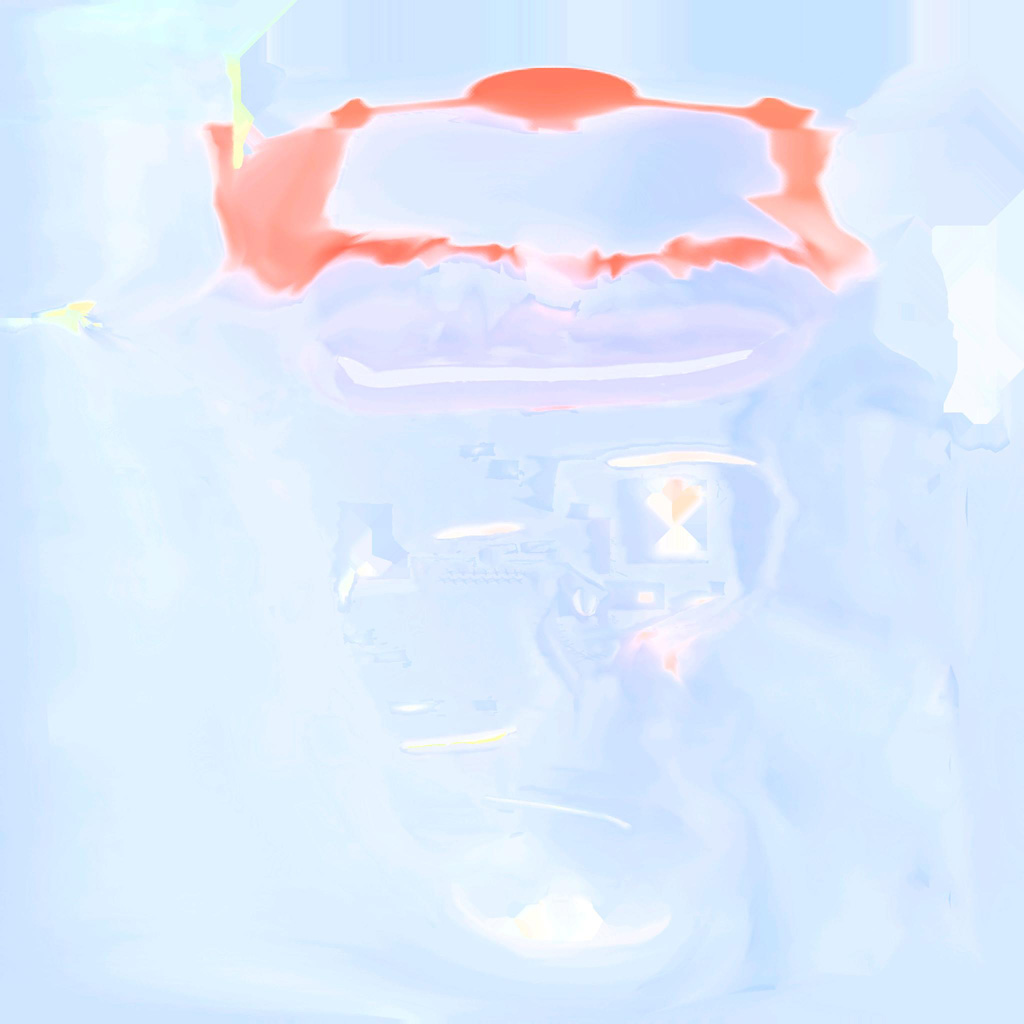
Terrain lightmap. (The original was 2048×2048.) It's so colorful because the channels are used independently.
Lightmap alpha channel. (The original was 2048×2048.)
Second pass for scene models. This pass renders shadows. The three R32F shadow textures mentioned earlier are used. PCF is implemented directly in the shader.
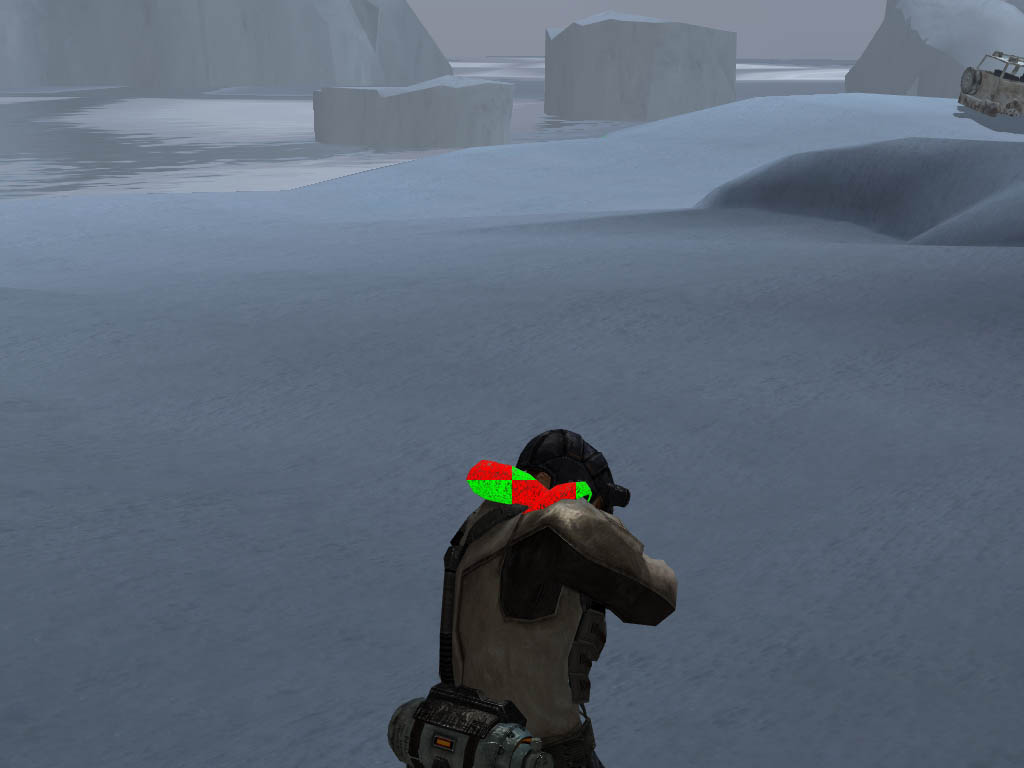
Screenshot before shadow computation:
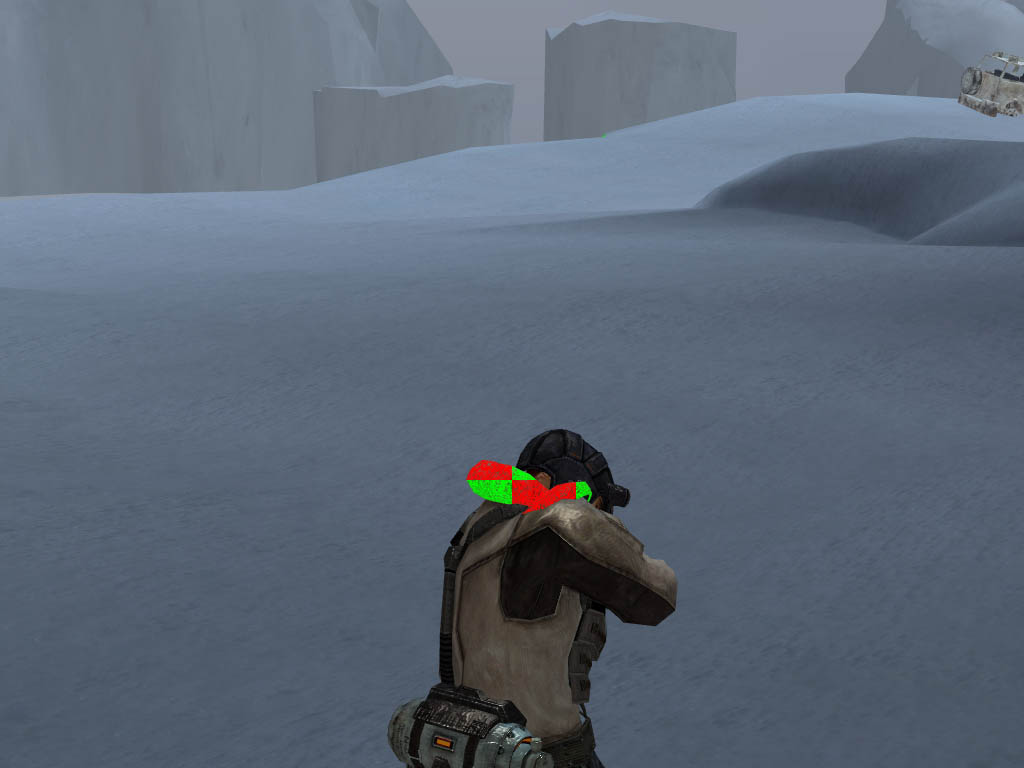
Screenshot after shadow application:
The game features a fur rendering technique. As it turns out, it's extremely simple. The mesh that should have fur is rendered multiple times, each time slightly enlarged. The alpha channel of the model texture creates the illusion of fibers and strands protruding in all directions. If you look very closely, the artifacts are visible. And only at close range. Otherwise they don't stand out and the result looks quite nice.
The first level contains water. It's simple. One normal map scrolling in different directions. The normal is used to sample the dynamic environment map. The water can also be semi-transparent. Next come soft particles. They are not lit. The previously generated post-perspective Z texture is used to fade particles against geometry boundaries.
After the main scene rendering is complete, the HDR image is converted into an LDR image. The technique is standard:
- Compute the average scene luminance using a ping-pong chain.
- Bright-pass — isolate bright regions.
- Blur the bright-pass image several times.
- Combine all ingredients using tone mapping.
HDR image (Unfortunately, this particular screenshot doesn't contain any extremely bright areas.)
LDR image

The next effect is Depth of Field. Yes, it's almost impossible to notice in a static screenshot, but it's there. :) Perhaps the effect is more visible in motion. (I never launched the game without it, assuming it can even be disabled.) The implementation is simple: Take a downsampled image (not even blurred), the original image, and the depth texture. Using the focal distance, calculate the blur factor according to the formulas from the article Improved Depth of Field Rendering from ShaderX3. Based on this coefficient, sample either the original image or the downsampled one. Distance from the camera is also taken into account.
The result looks like this:

The second-to-last effect is motion blur. The algorithm works as follows: First, the current scene image is copied into an additional render target. The alpha channel stores the distance from the camera.
Next, an A8R8G8B8 texture is used. All animated objects are rendered into it (characters, spinning weapons lying on the ground, and so on) using a special shader. The shader receives:
- previous bone matrices
- current bone matrices
- previous view matrix
- current view matrix
- previous projection matrix
- current projection matrix
Two object positions are calculated:
- previous
- current
Both are transformed into screen space and then subtracted from each other. (Of course, with plenty of coefficients and additional adjustments involved.) As a result, we obtain a two-dimensional motion vector describing the displacement of the current pixel since the previous frame. Objects are rendered both in their current and previous positions so that the entire area occupied during those two frames is covered.
The resulting image looks like this:
For static geometry things are simpler. Since its position depends only on the view-projection matrix, and we know the coordinates of every pixel (z comes from the texture, while x and y come from texture coordinates), we can reconstruct the pixel's position in the previous frame. To do this, the current post-perspective position is multiplied by the inverse projection matrix. The coordinates are then transformed into the previous frame's space using the saved view and projection matrices. This produces the motion vector for static geometry. To avoid overwriting the motion vectors already computed for dynamic objects, the stencil buffer is used.
Render target containing motion vectors:
The final composition pass uses all of the above information to blur pixels according to their motion vectors. Result: (The effect is easiest to see by rapidly switching between the image after Depth of Field and this one in an image viewer.)
Artifacts are fairly noticeable in static screenshots, especially during rapid camera movement. In motion, however, they're almost impossible to notice. Finally, some kind of gamma correction combined with a clever color remapping operation is applied to give the image a slightly bluish tint.
Final image:
And finally, the UI. (Rendered in blocks rather than element-by-element.)
So what can be said in conclusion? The engine features good sorting by materials, textures, and vertex buffers. Overall, it's an extremely sophisticated and technologically advanced renderer. Naturally, all of this consumes enormous amounts of memory and computational resources. That's what happens when a console alien lands on your PC. :)
P.S. A few words about the promised DX10 version. I actually wanted to reverse-engineer it. For some reason, however, the game runs unbelievably slowly under PixWin on Vista. Roughly one frame every 30 seconds. Even during the intro video. (Actually, that's not entirely true — during the video it was closer to one frame every 3 seconds.) I somehow managed to reach the level loading screen. Patiently waited for about an hour. Then I killed the game and went back to reverse-engineering the DX9 version. :)