DiRT — Technologically Spotless.
This post is dedicated to the memory of Colin McRae.
Hello, friends. Most of my materials on DiRT had actually been ready since mid-June, but a variety of circumstances (mostly good ones :)) forced me to postpone the final write-up of the report until autumn. And now, having gathered some energy, I decided to finish what I started.
Standard disclaimer: A64 X2 4200+, GF8800GTX, WinXP SP2, 2 GB RAM. The game was reverse-engineered at maximum settings and a resolution of 1024×768.
The renderer turned out to be technologically advanced and fairly easy to reverse-engineer. The purpose of almost every rendering stage, texture, and constant was immediately obvious. No lengthy and exhausting analysis of shader assembly code was required.
The first stage renders the dynamic minimap. This consists of a fragment of the level map, plus markers for opponent vehicles and our own vehicle. Everything is rendered as quads, two triangles per draw call.
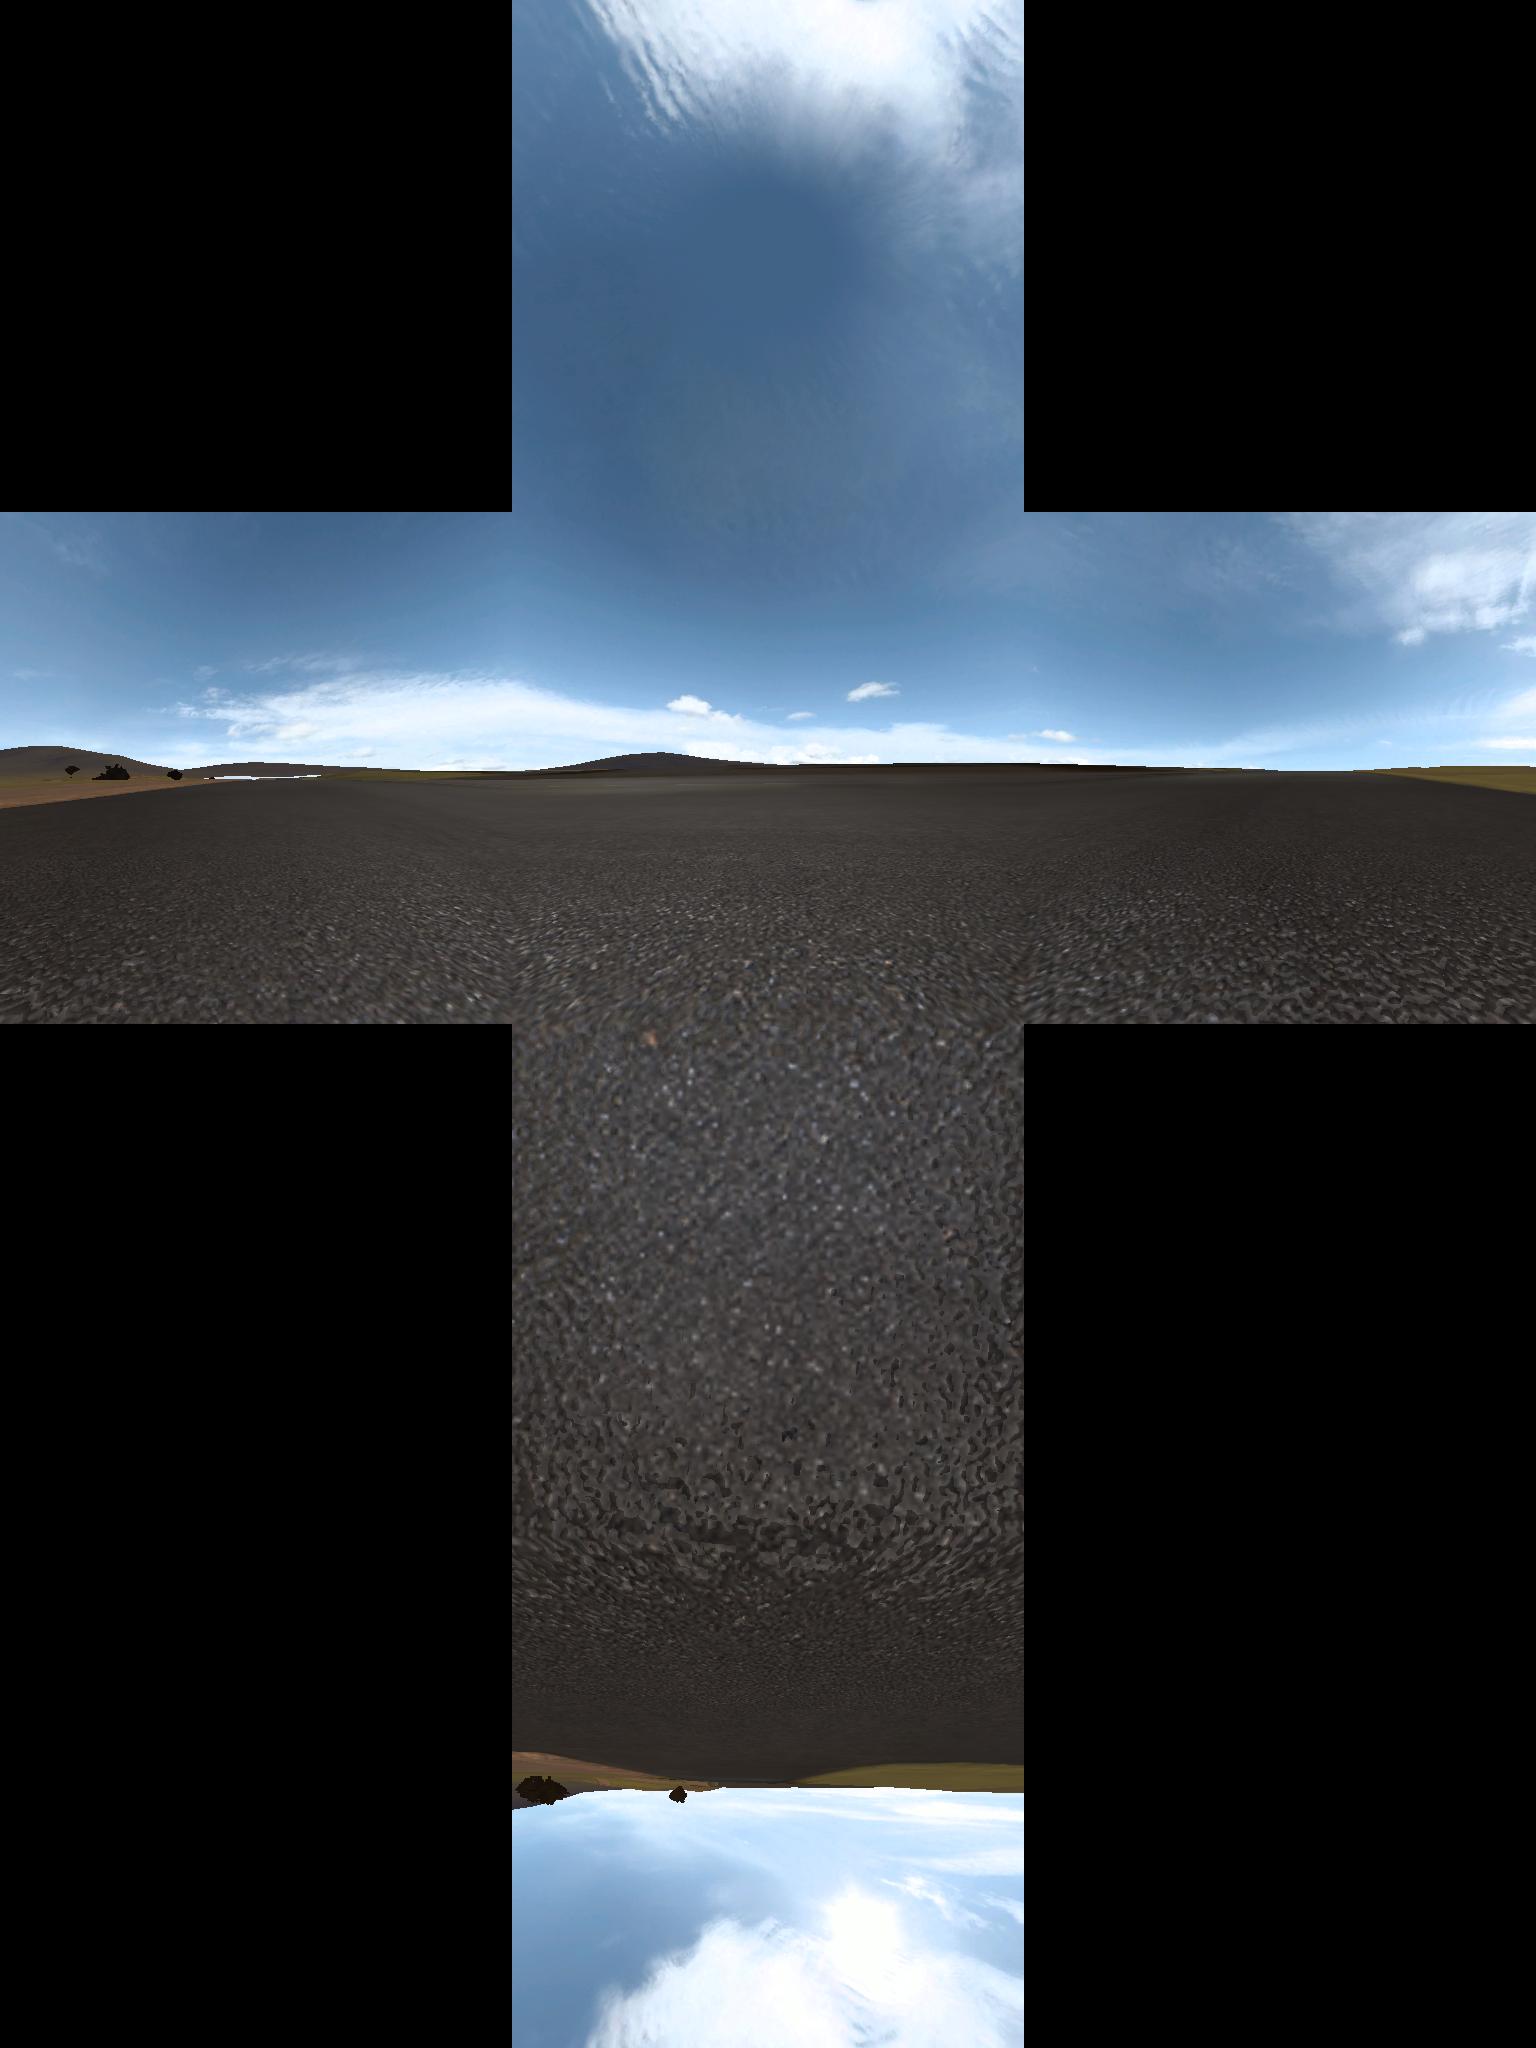
Next comes generation of a dynamic cubemap for reflections. The scene is photographed from the camera position. Cars, bushes, people, and other small details are not rendered.
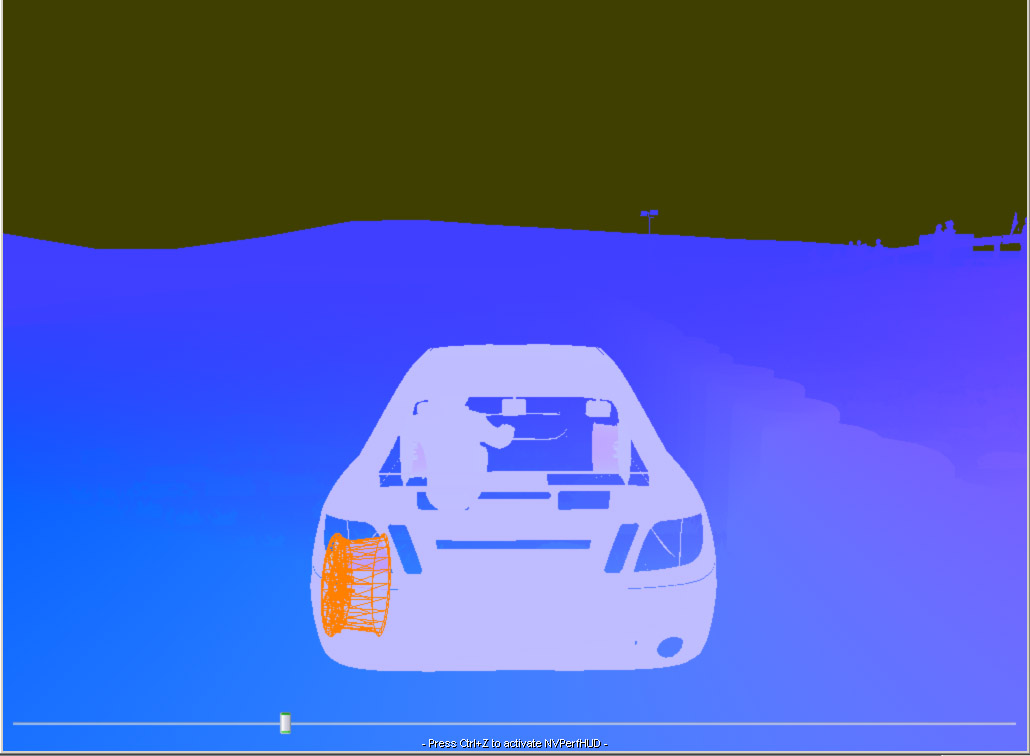
Next comes the velocity buffer + scene depth. A texture of format A16R16G16B16F is used. The RG channels contain a 2D motion vector representing displacement since the previous frame. Exactly the same approach as in my previous Lost Planet review. The B channel contains scene depth in view space (i.e. not normalized). This render target is used in almost every subsequent rendering stage.
Dynamic ambient occlusion pass. No, this isn't the AO described in GPU Gems 2. :) That's simply the developers' terminology. This pass creates an RGBA8 texture with dimensions eight times smaller than the viewport (128×96 in our case). Only the R channel is used. Cars within a certain (small) radius around the camera are rendered into it. The texture is then blurred horizontally and vertically and later used as a soft shadow beneath vehicles when rendering terrain and nearby objects.

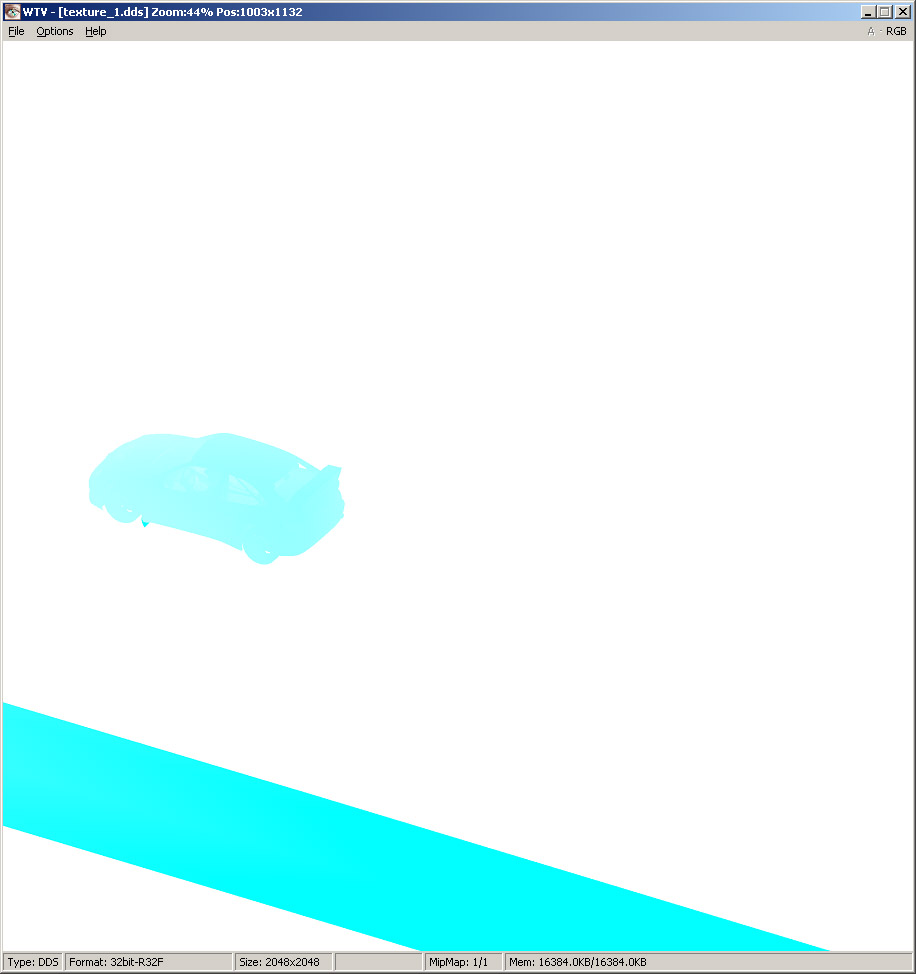
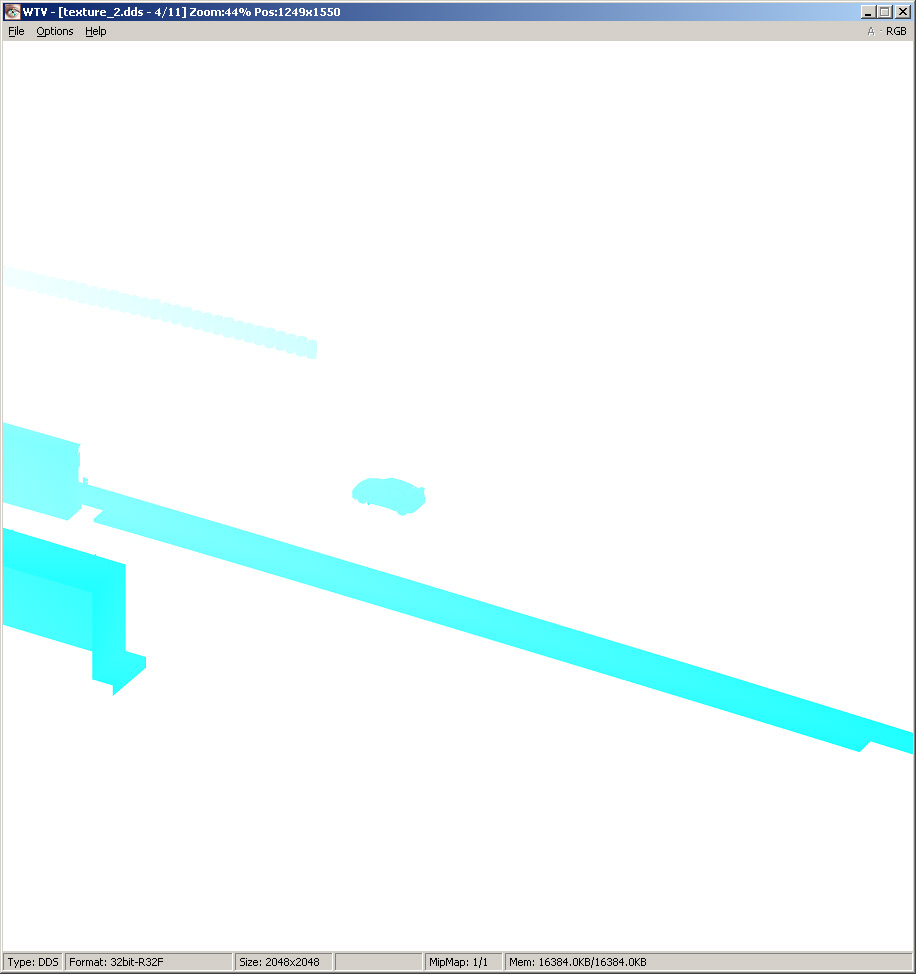
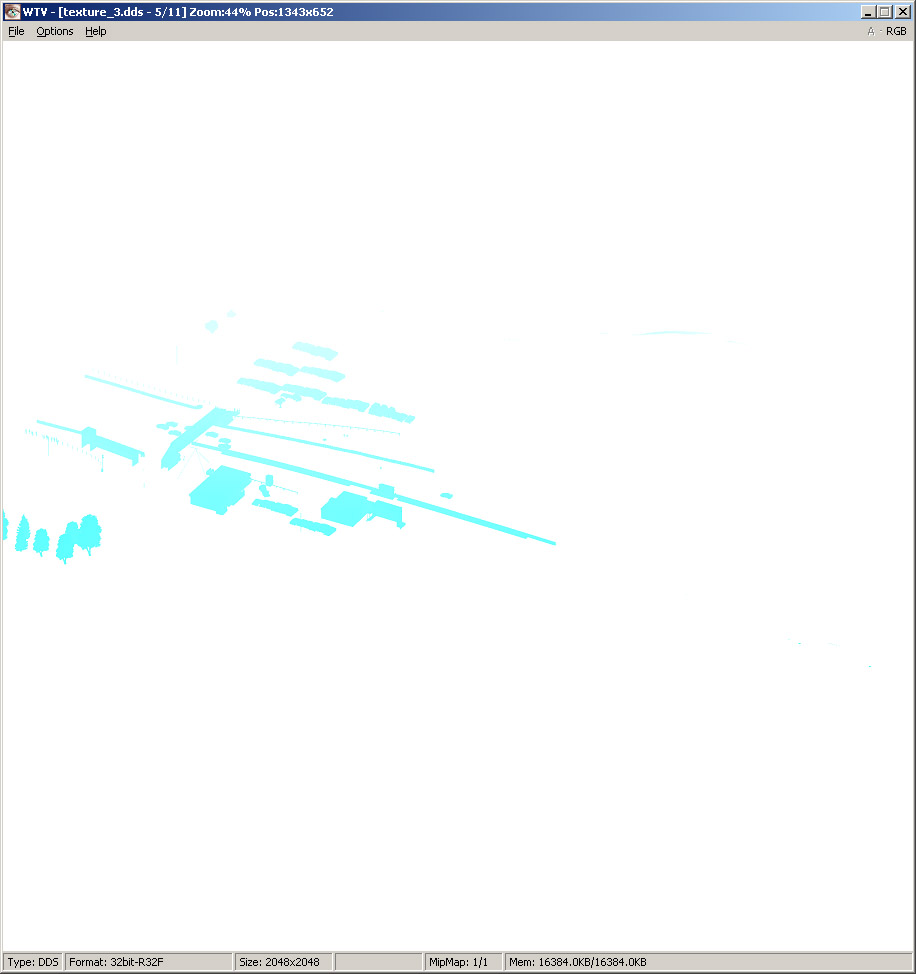
The next step is shadows. Three 2K×2K R32F textures are used. All three are centered around the camera and cover different areas.
Then, using the scene depth texture and all three shadow maps, the developers create what they call a shadow mask.
This is accomplished using a huge 250-instruction shader. Knowing the scene depth and the pixel position in screen space, it is possible to reconstruct the pixel position in camera space. After that, standard shadow mapping is performed. Since three shadow maps have to be blended together while simultaneously applying PCF filtering, the shader becomes very long. The shadow mask still contains visible shadow-map and PCF artifacts, so the resulting texture is lightly blurred once more. Fortunately, at this point it's an ordinary image rather than depth data. One thing worth noting is that with this approach, blurred shadow regions can extend beyond the boundaries of the meshes they belong to, creating artifacts. That's exactly why only a light blur is used. No artifacts are visible in the final image.
When all the preparation work is finished, the main pass begins. Front-to-back rendering, exactly as it should be. Cars come first. The shaders used here are fairly heavy in terms of texture bandwidth. The following textures are used when rendering vehicles:
- Diffuse texture
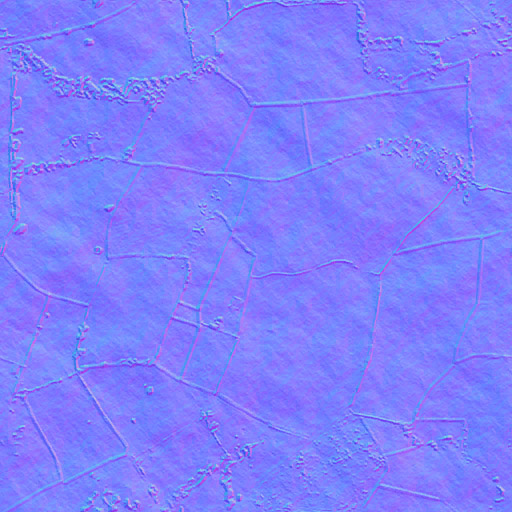
- Normal map
- Dirt mask
- Ambient cubemap
- Real-time reflection cubemap
- Shadow texture
- Damage texture
- Specular damage texture
All textures are large (1024×1024).
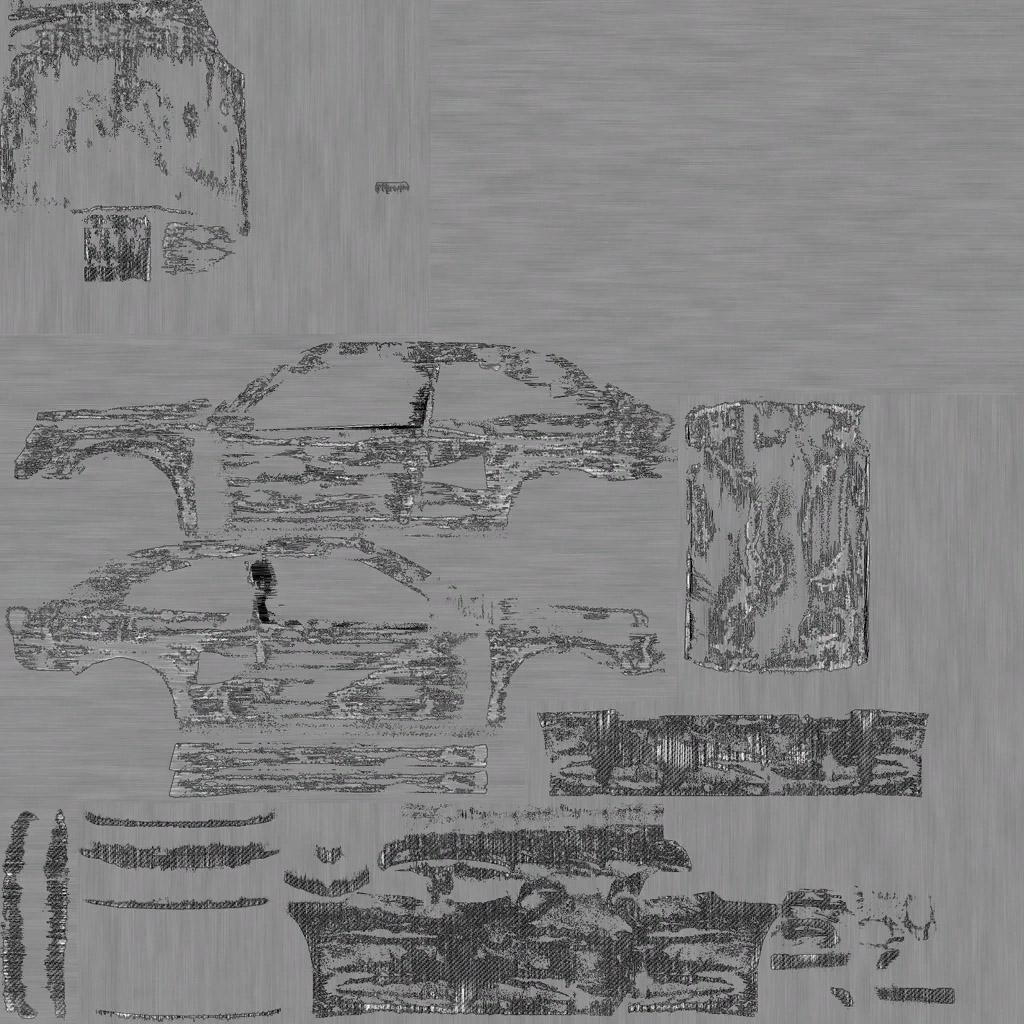
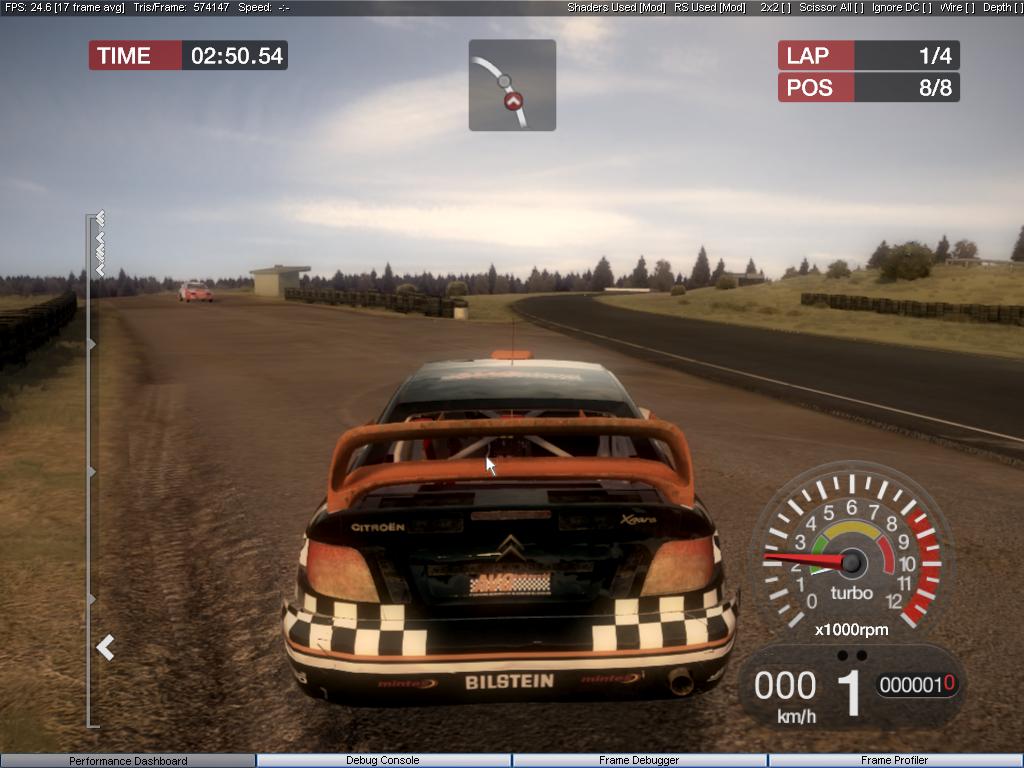
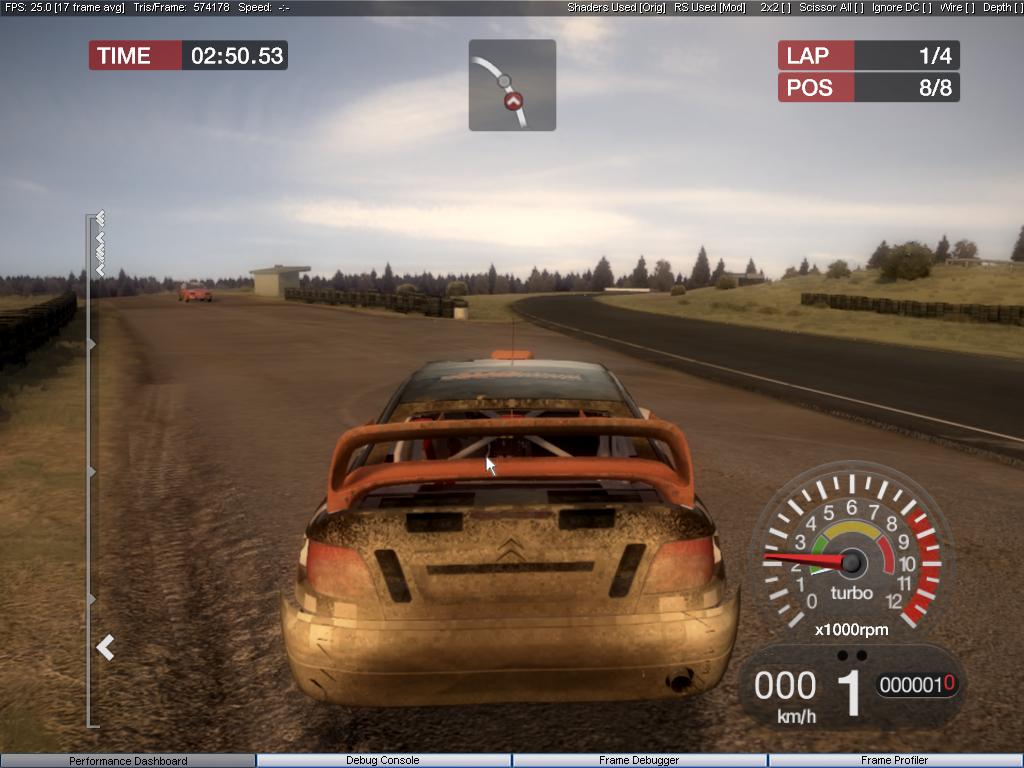
Dirt map:
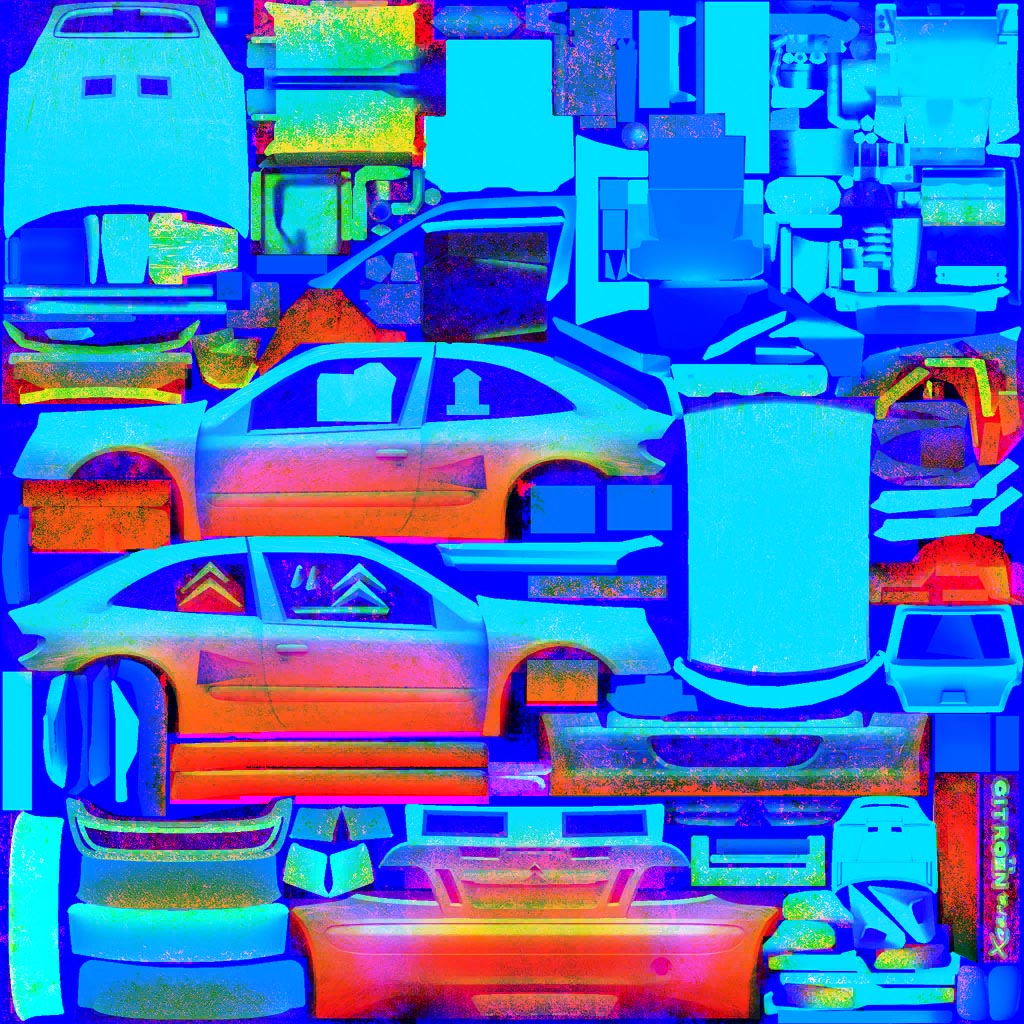
The dirt map uses DXT5 compression and stores the following information in its channels: Mask for dirt of one color (red):
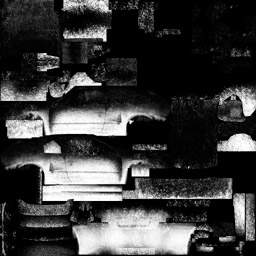
Mask for dirt of a second color (blue):
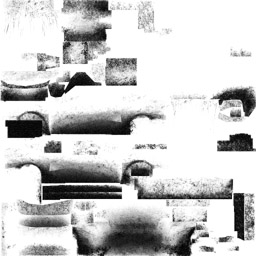
Darkening coefficient for the dirt layer. It is derived from the relationship between the vertical vector (perpendicular to the ground) and the vehicle surface normal at that point. A variation of the wrap-around lighting formula is used (or something very close to it—it doesn't really matter):
colour * clamp(N.L + factor) / (1 + factor)
This is done so that angles of 90 degrees and above don't turn everything completely black.
The alpha channel contains a mask of regions that should not become dirty (or should only become partially dirty). These regions typically include decals and lettering on the car.
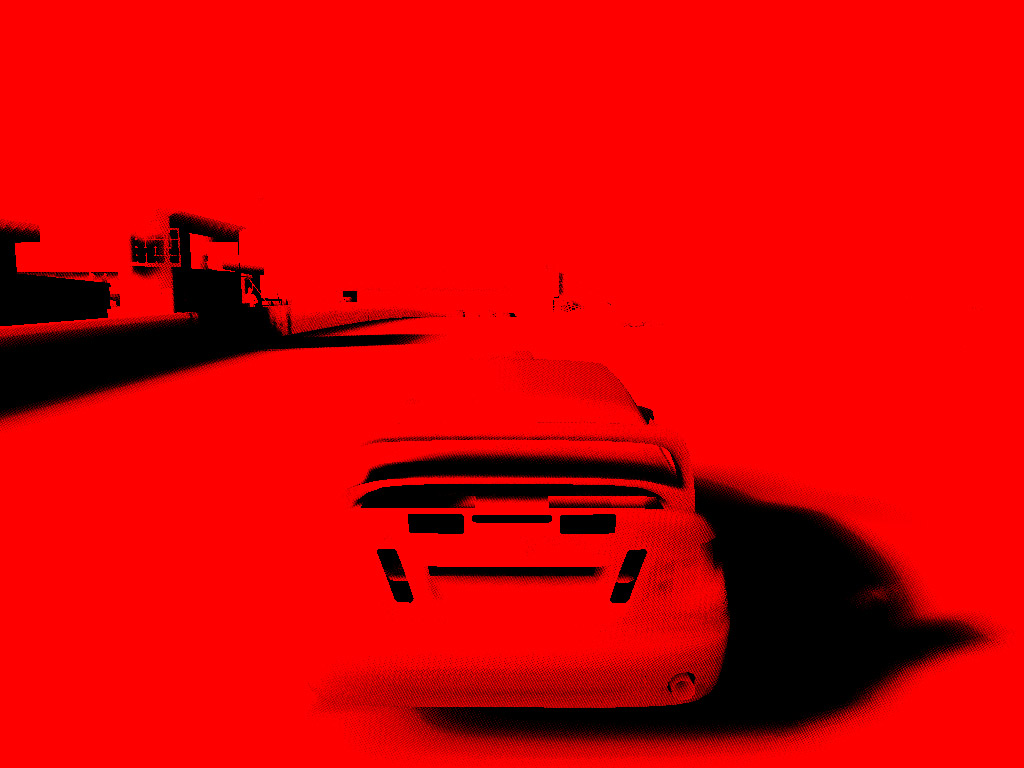
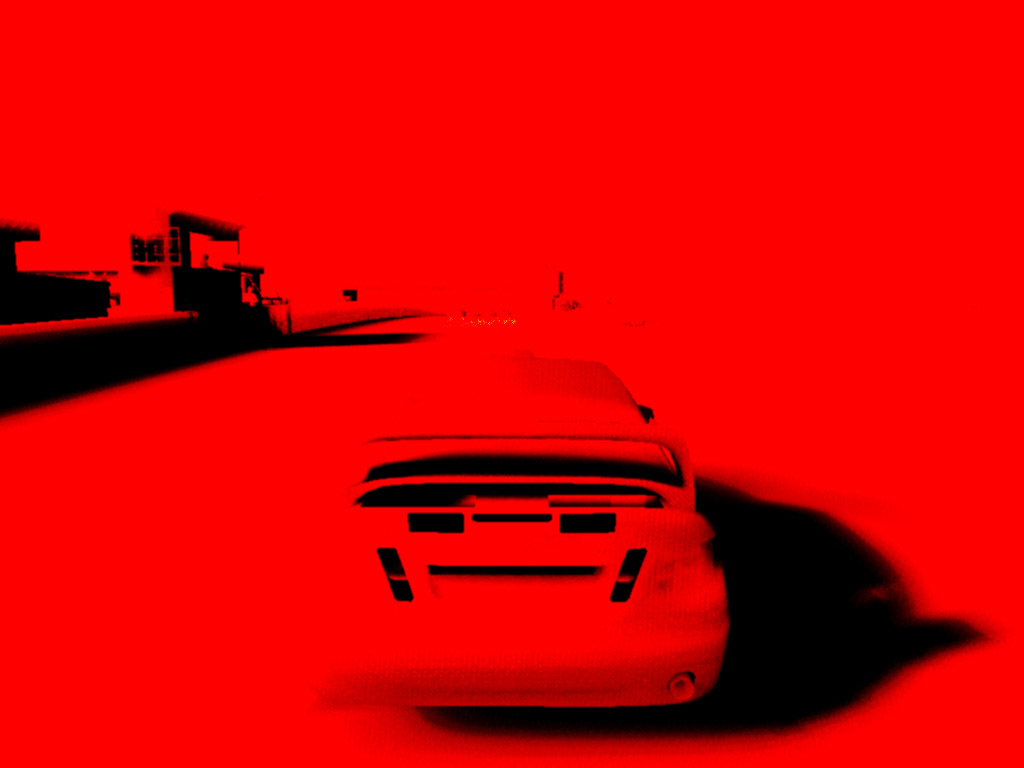
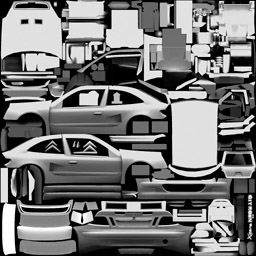
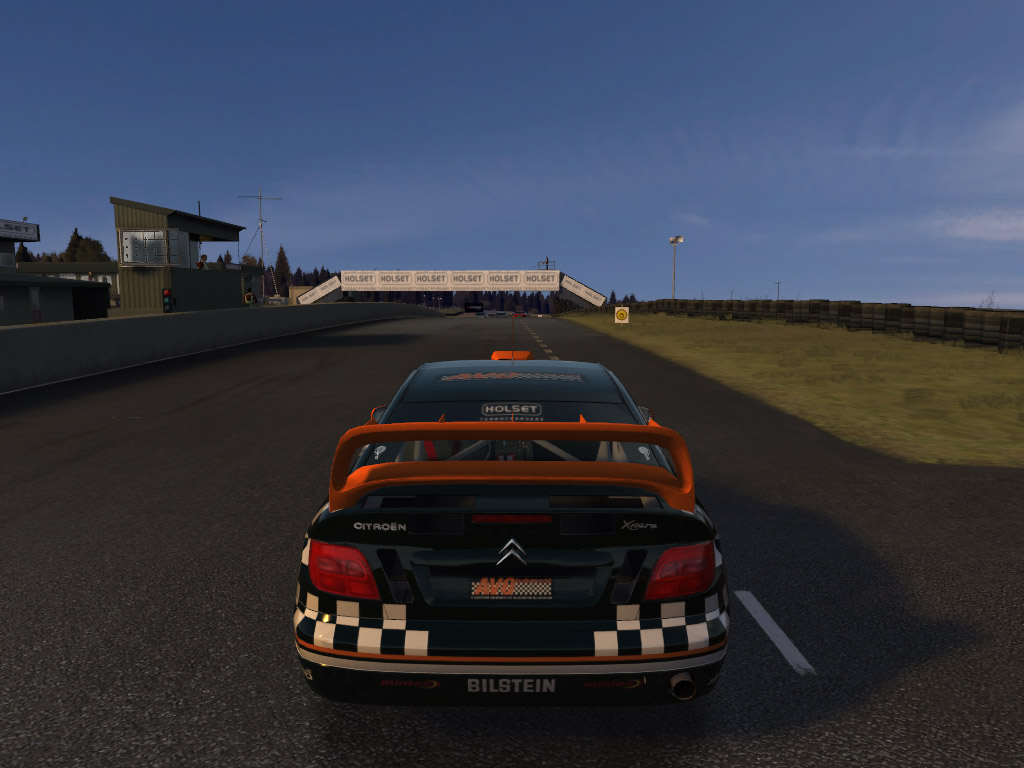
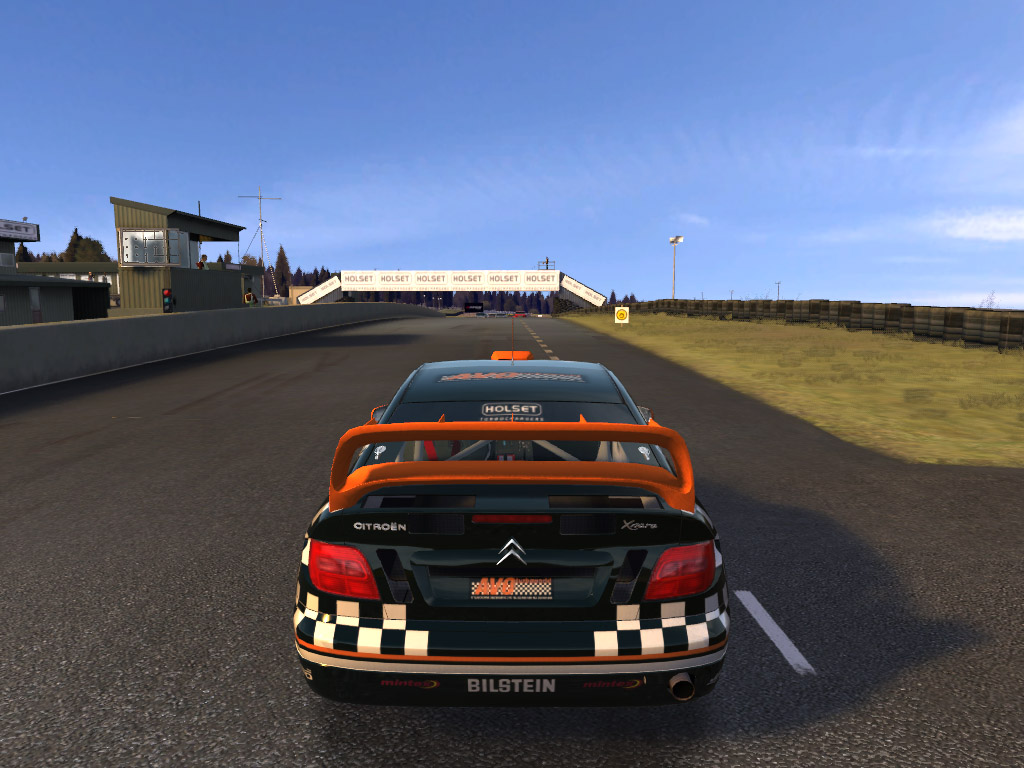
Here are some pictures of clean and dirty vehicles:
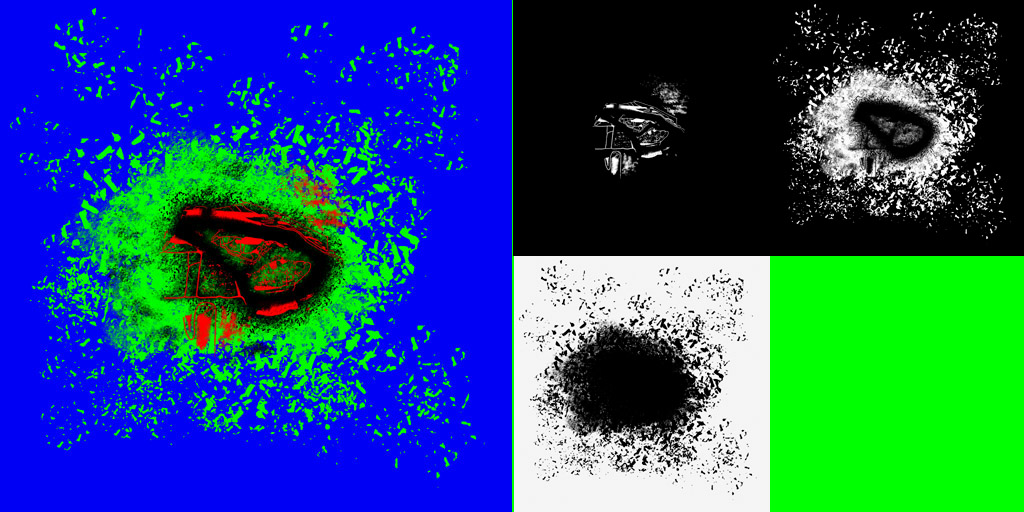
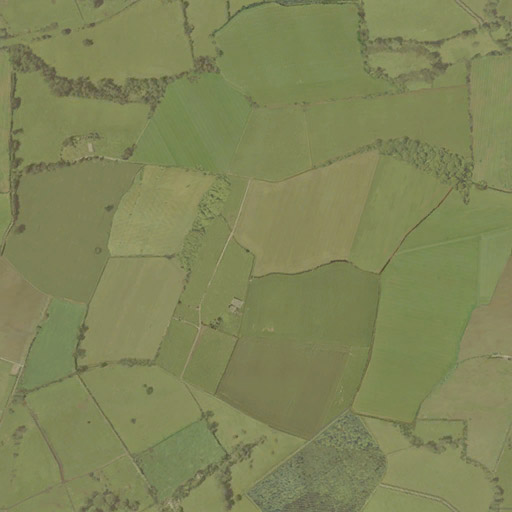
Vehicles (like everything else in the game) are lit by a single sun light. At maximum detail, a car occupies roughly 100 DIPs. As the vehicle moves farther away, smaller details stop being rendered. There are no shader LODs. Drivers and spectators use software skinning. For rendering terrain and roads, several aerial photographs of the area (512×512) are used together with several detail textures. The following texture is used to blend the layers (original size 1024×1024, channels shown separately side-by-side):
Every diffuse texture has a corresponding normal map. Everything is lit per-pixel by the sun.
SpeedTree is used for trees. At the very end, a sky hemisphere is rendered, with the furthest forest layer painted directly onto its texture. All models are stored in their own VB/IB pairs. No cache-friendly alignment is used. The vertex formats declare vertex sizes of 28, 36, 40, 48, and 60 bytes. (Some meshes use per-vertex lighting.) Particles are soft. The previously generated scene depth texture is used to smooth intersections between particles and geometry. The resulting image looks like this:
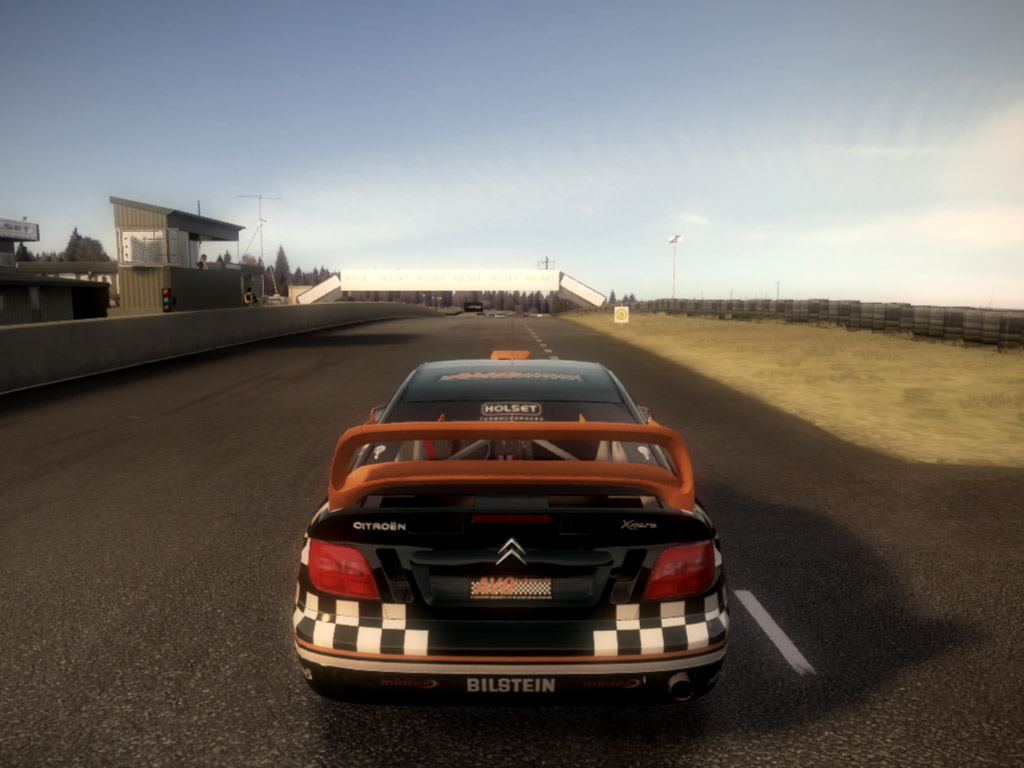
The image is then downsampled in five stages until a 1×1 texture containing the average scene luminance is obtained. Using the velocity buffer and the scene luminance, motion blur is applied and the final image lighting is adjusted accordingly. Incidentally, motion blur is used even in the game's main menu.
The image is then blurred two more times to create glow regions. Final image:
The UI is rendered element by element. Batching could have been done better. Letters are actual meshes. Text is batched per character, meaning that all identical letters, if they appear multiple times, are rendered in a single draw call. And that's pretty much it.
I'd like to note that PIXWin was not needed at all for this investigation. PerfHUD 4 was used to export textures and render targets. PerfHUD 5 was used to modify shaders in order to understand some of the less obvious parts of the renderer.