Clive Barker's Jericho
After the demo of Clive Barker's Jericho became available for public download, many people described its graphics as "the best they've seen so far." As you can imagine, I couldn't pass up a game like that.
System configuration: A64 X2 4200+, GeForce 8800 GTX, 2 GB RAM. All game settings at maximum.
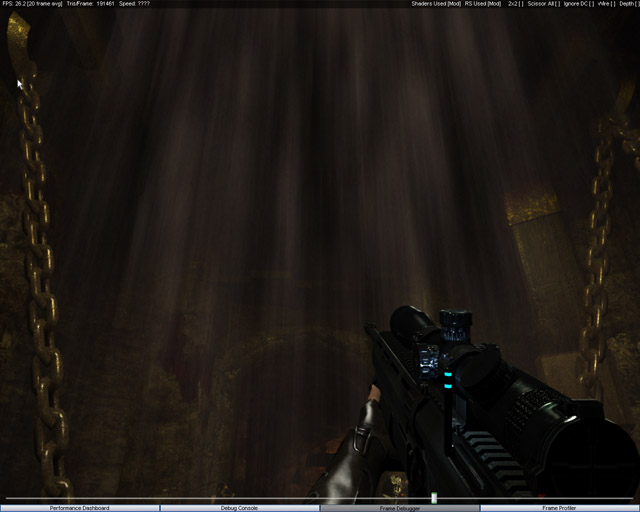
Immediately after launching the game, it's obvious even to the naked eye that the game is heavily loaded with special effects.
As I expected, the first pass fills the scene depth buffer. This is not a pure Z-only pass. Camera-space Z is written into an R32F render target. The resulting texture is then used in many different places. All subsequent geometry passes use the generated depth buffer with DepthWrite set to false.
The engine uses a multi-pass renderer. Each light source has its own geometry rendering pass. If a light source casts shadows, the process begins by rendering a shadow texture into an R32F render target. (No omni-directional shadows were observed.) After that, all geometry affected by that light source is rendered. The following textures are used during rendering:
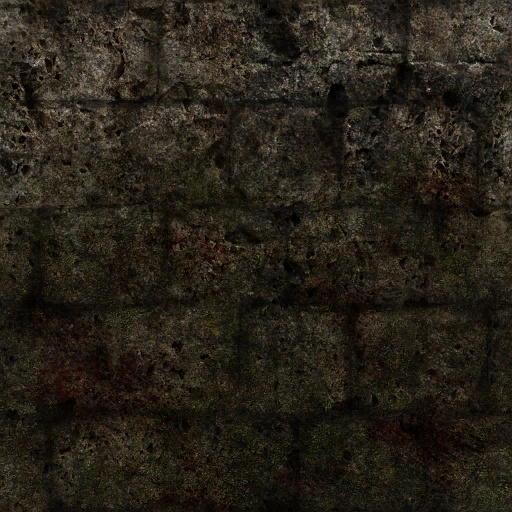
Diffuse texture (Turn your monitor brightness up a bit — the screenshots are rather dark.)
Normal map:
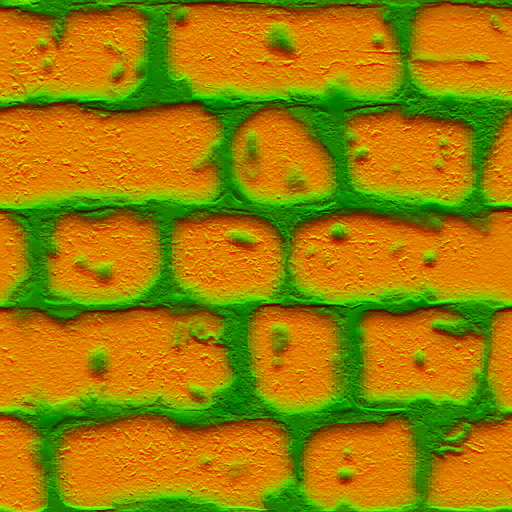
DXT5 compression is used. The X and Y components of the normal vector are stored in the G and A channels. This normal-map compression technique is well known. Z is reconstructed as:
sqrt(1 - x² - y²)
because the normals have unit length and we know that the Z component in tangent-space normal maps is always positive. You can read more about normal-map compression here and here. Since the R channel would otherwise be unused, it can store something useful (though not something critically dependent on quality). In Jericho, this channel stores a low-frequency height value, or, to use the fashionable term, a low-frequency height map. It is used for the simplest form of parallax mapping. Neither Parallax Occlusion Mapping nor Relief Mapping is implemented. The B channel is unused.
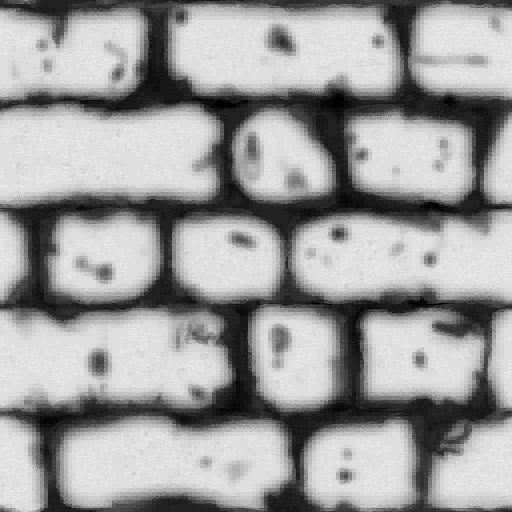
Height map:
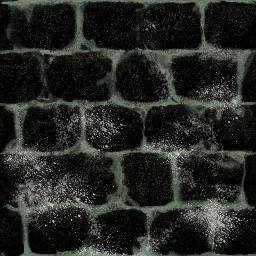
A specular map is also present:
A cubemap containing highlights associated with an object (for example, a weapon):

There is also a cubemap attached to hanging ceiling lamps. To correctly interpret the colors produced by this cubemap, the shader also receives the transformation matrix of the corresponding physical object. Thus, by transforming the direction vector
rendered object → lamp
using this matrix, we obtain nice dynamic highlights on objects surrounding the light source:
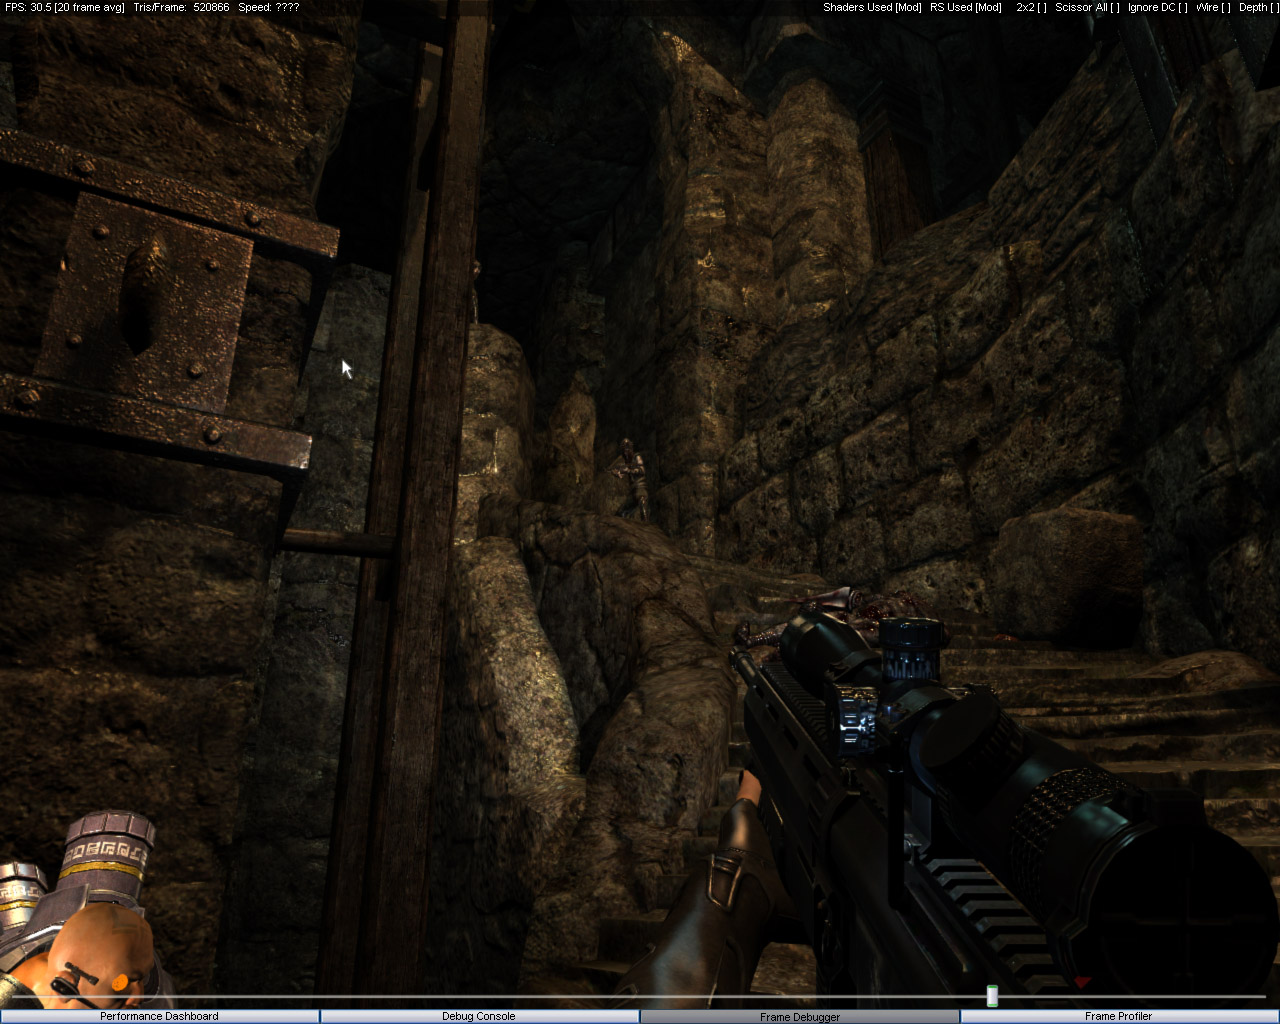
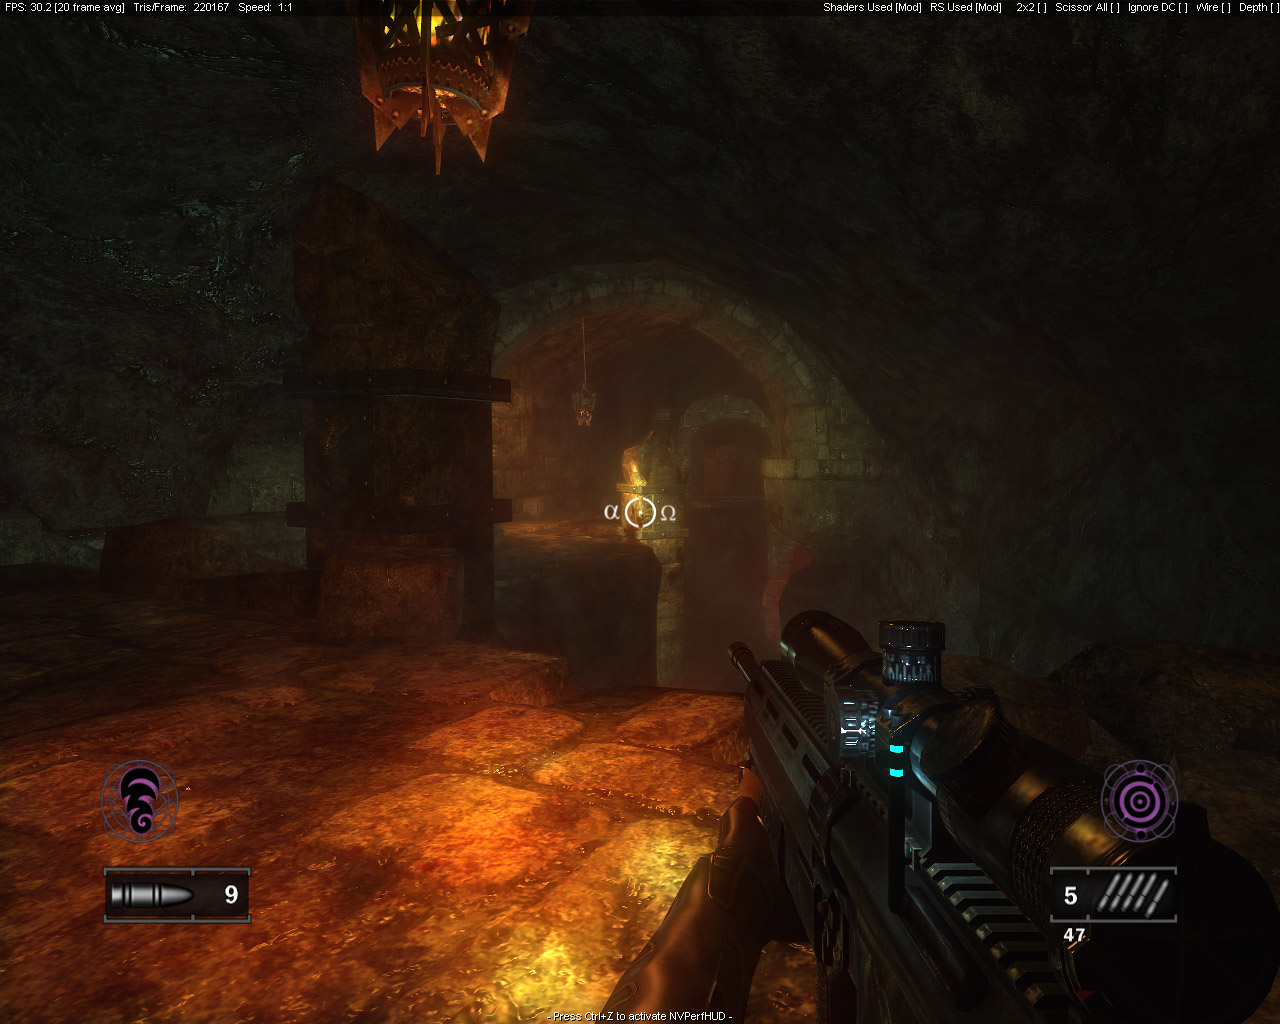
Scene with one light source:
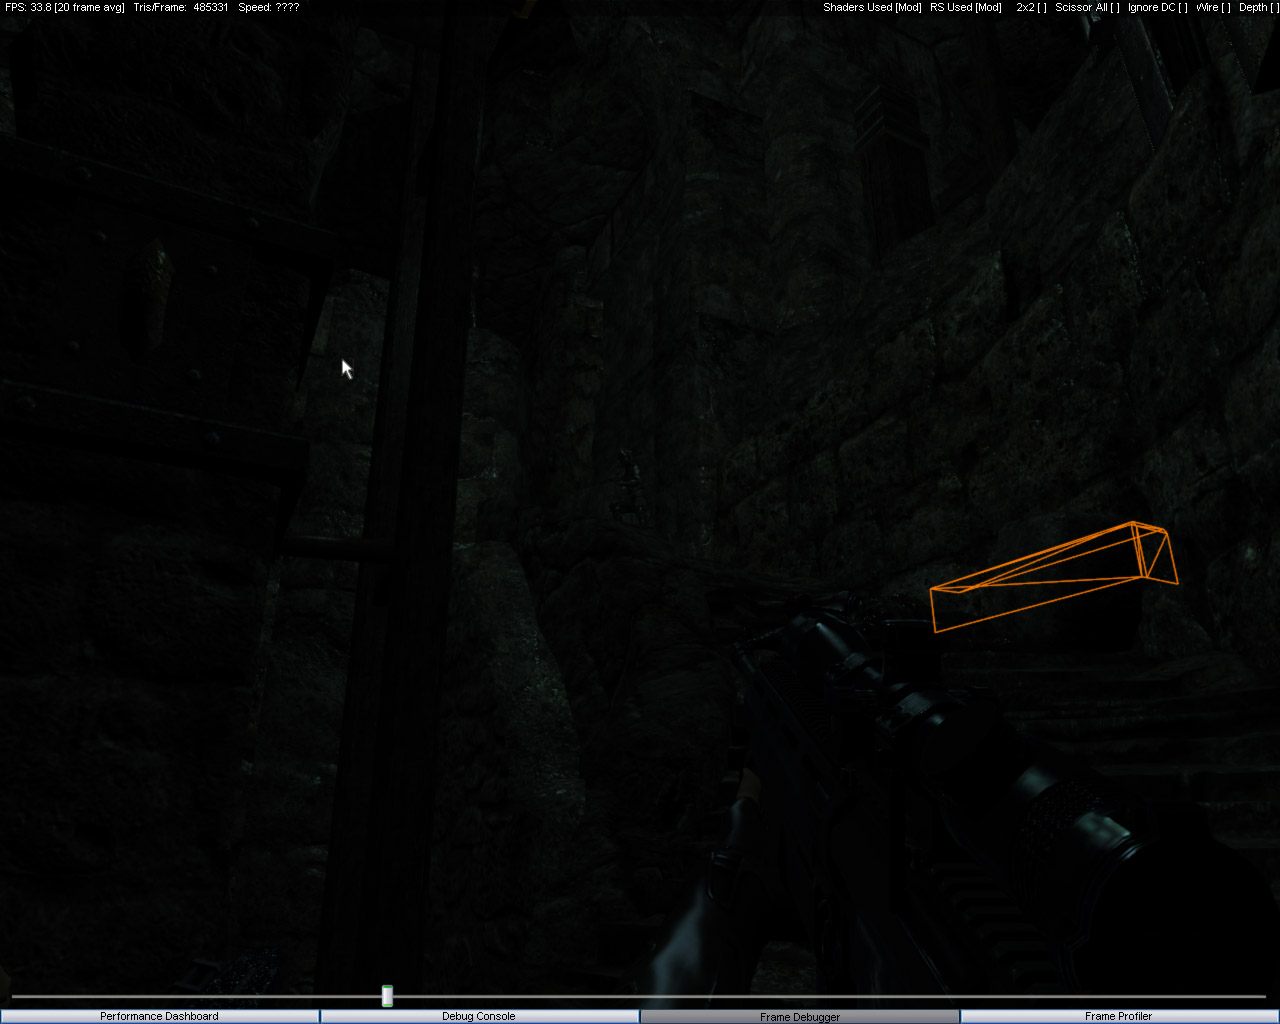
with two:
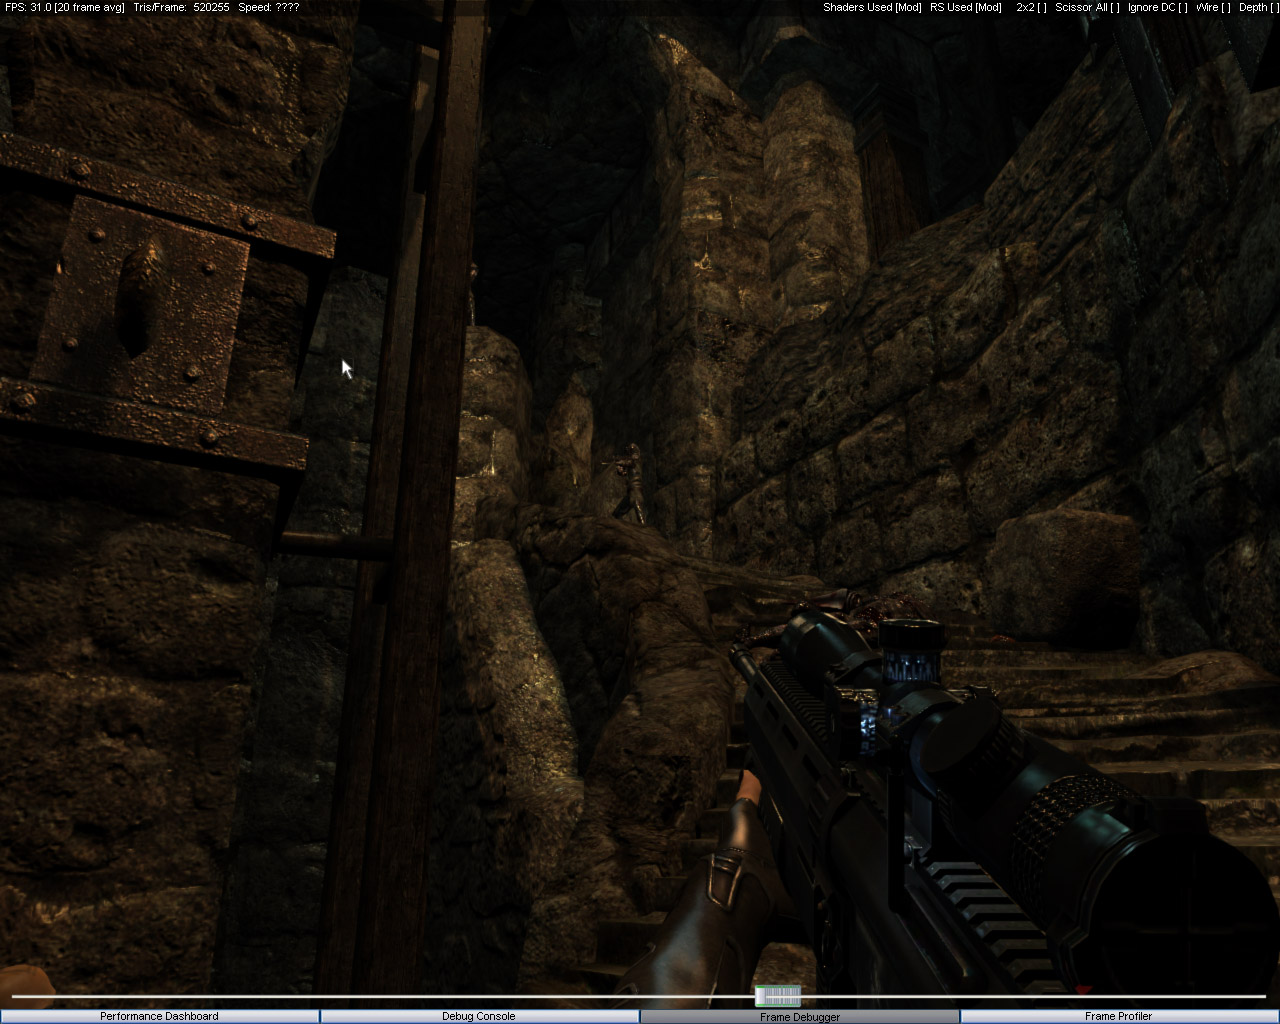
with three:
 After all geometry passes, water is rendered. Or rather, the blood-like substance that appears abundantly throughout the demo level. Three normal maps are used, scrolling at different speeds and in different directions. Nothing particularly remarkable here. Next come the particles, which are batched into fairly large groups. Incidentally, many particles are rendered using additive blending, creating a volumetric light and fog effect.
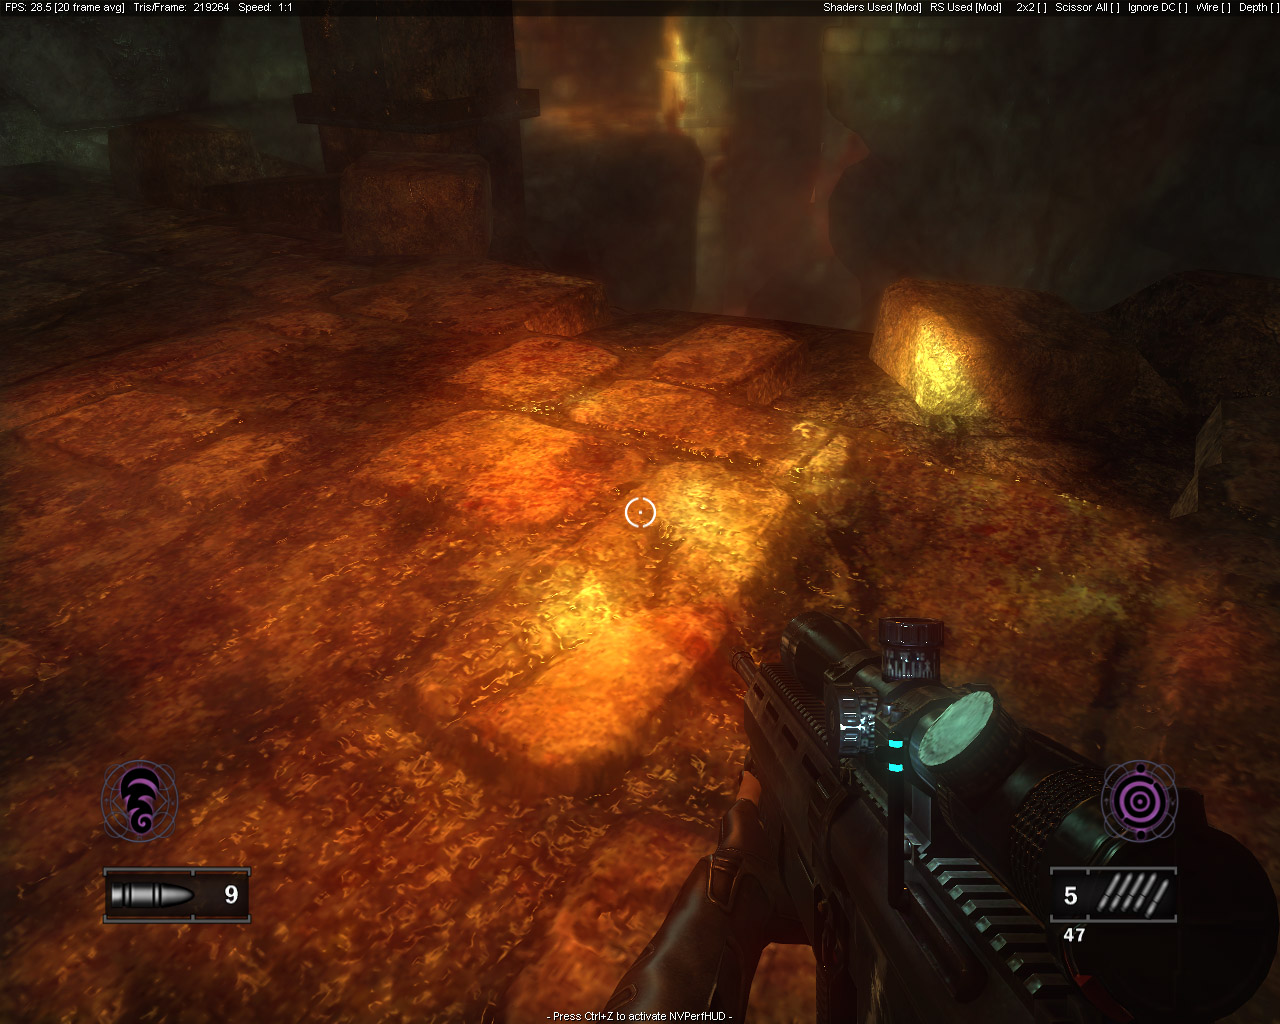
Before particles:
After particles:
Depth of Field. To achieve this effect, the scene is downsampled into a render target one quarter of the original size and then blurred twice. The resulting texture is combined with the original image using the method described by the ATI guys in ShaderX3. Near plane, far plane, focal distance, leak reduction using the scene depth texture — it's all there. I should point out that the focal distance is determined dynamically, depending on the object currently under the player's gaze. (A simple ray intersection against the nearest object.) This allows the blur amount to change smoothly as focus shifts between objects. As I suspected, YouTube video quality won't properly demonstrate Depth of Field with a dynamically changing focal distance, so here are two screenshots instead. (Pay attention to the illuminated column in the distance.)
After DoF come the so-called "image distortion" post-processing effects. The approach is quite original and unusual. All texture-coordinate offsets that should distort the image are rendered into a separate ARGB8 texture. Normal maps are used for generating these offsets.
This includes:
- wet-screen effects (water droplets on glass)
- heat haze from fire
- telekinesis effects
The resulting dynamic offset map is then combined with the scene image generated during the previous stages to produce the distortion effects.
Dynamic offset map:
Resulting image:
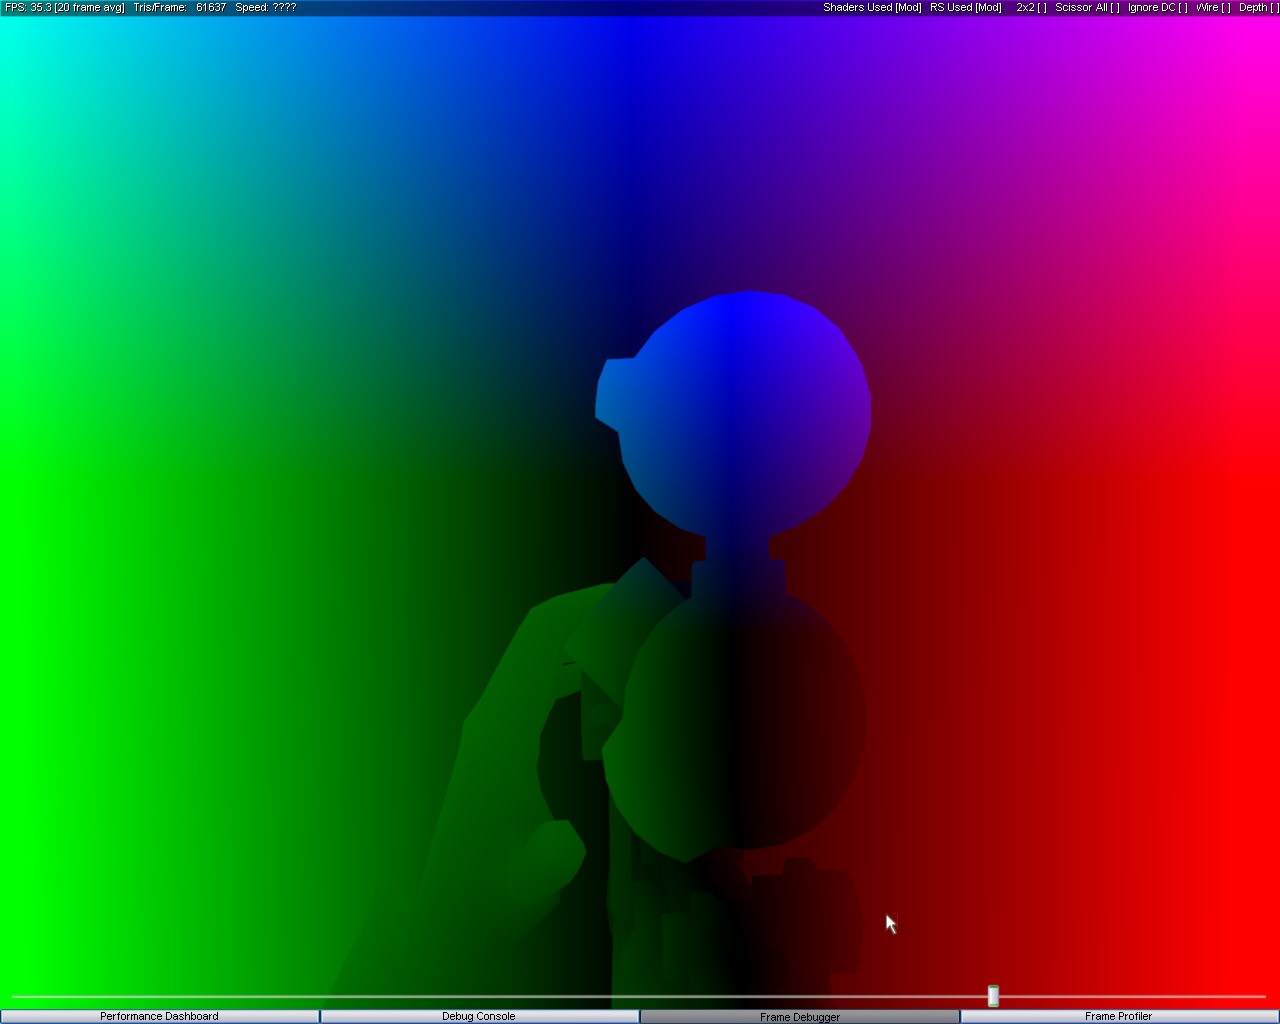
 The next stage generates the velocity buffer used for the motion blur effect. The approach is the same as in many other games. The previous and current transformation matrices are passed into the shader. After applying them, a displacement vector in the XY plane is calculated and written into an ARGB8 texture. To improve precision and avoid wasting memory, the channels are used as follows:
R = +X
G = -X
B = +Y
A = -Y
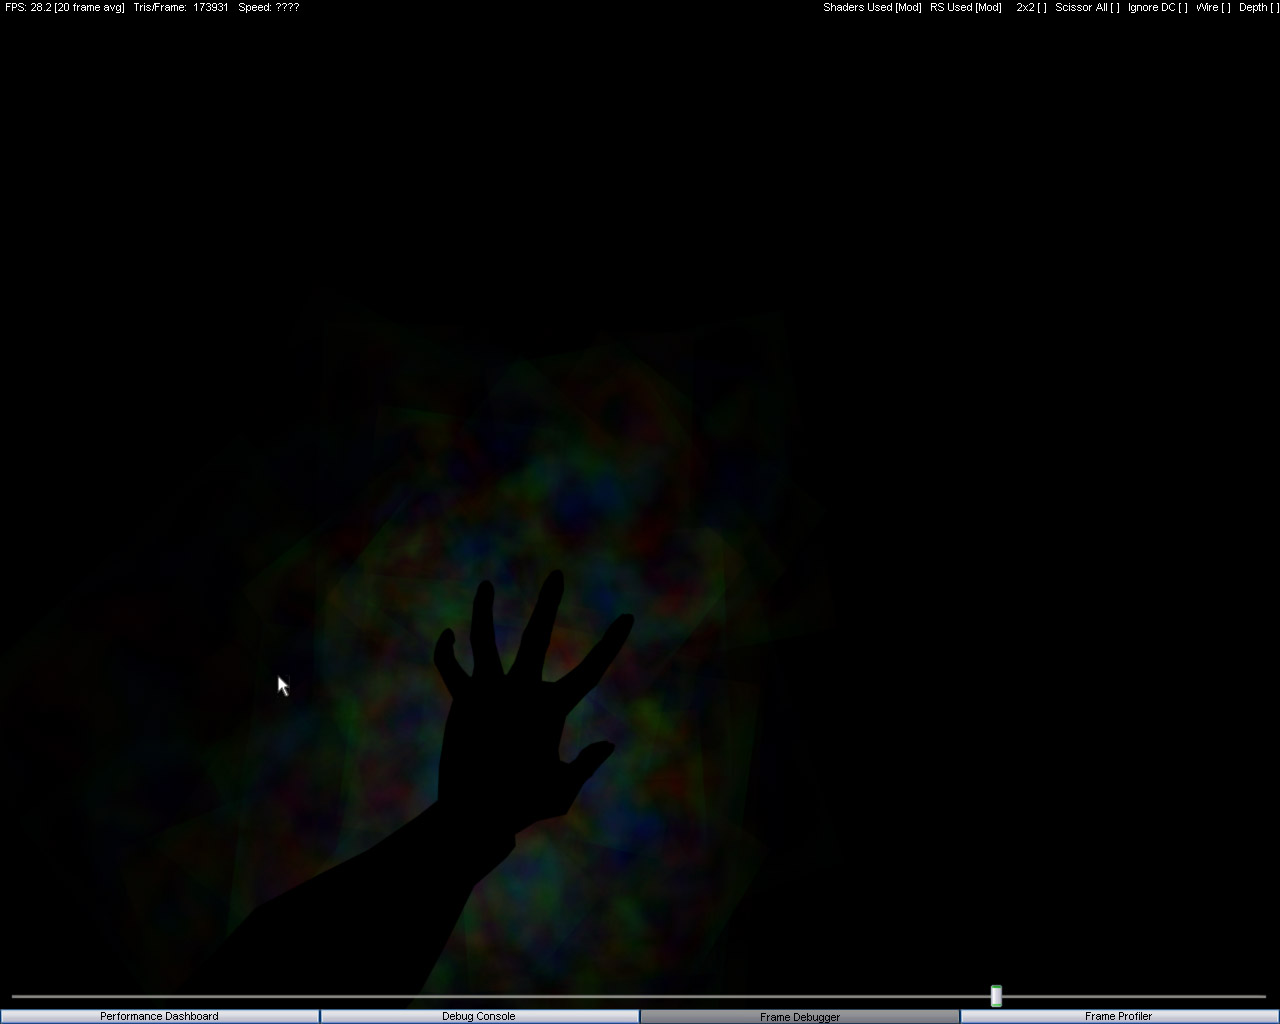
Visualization of the velocity buffer while activating the sniper zoom for Black. (She is one of the three playable characters available in the demo.)
In the next stage, the generated buffer is used to blur the image:
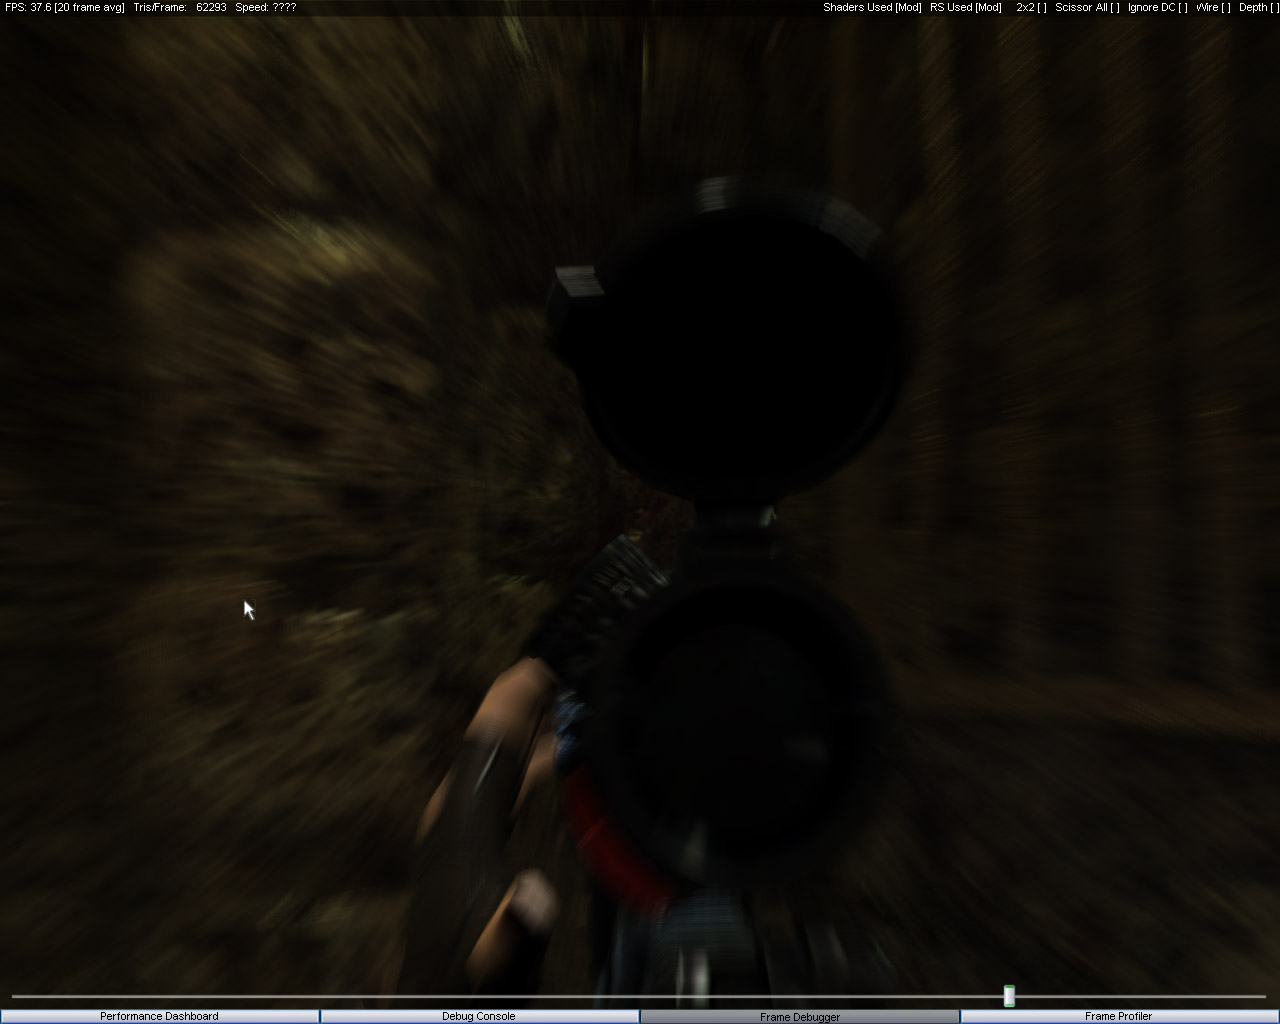
and here's a video:
The next step applies yet another post-processing effect. The scene is downsampled and blurred through several stages until a 1×1 image containing the average scene luminance is obtained. Using this tiny texture, a bright-pass operation is performed. Or, speaking plain English, the bright areas are extracted. The resulting texture is then blurred diagonally in an X-shaped pattern:
- up-right
- up-left
- down-right
- down-left
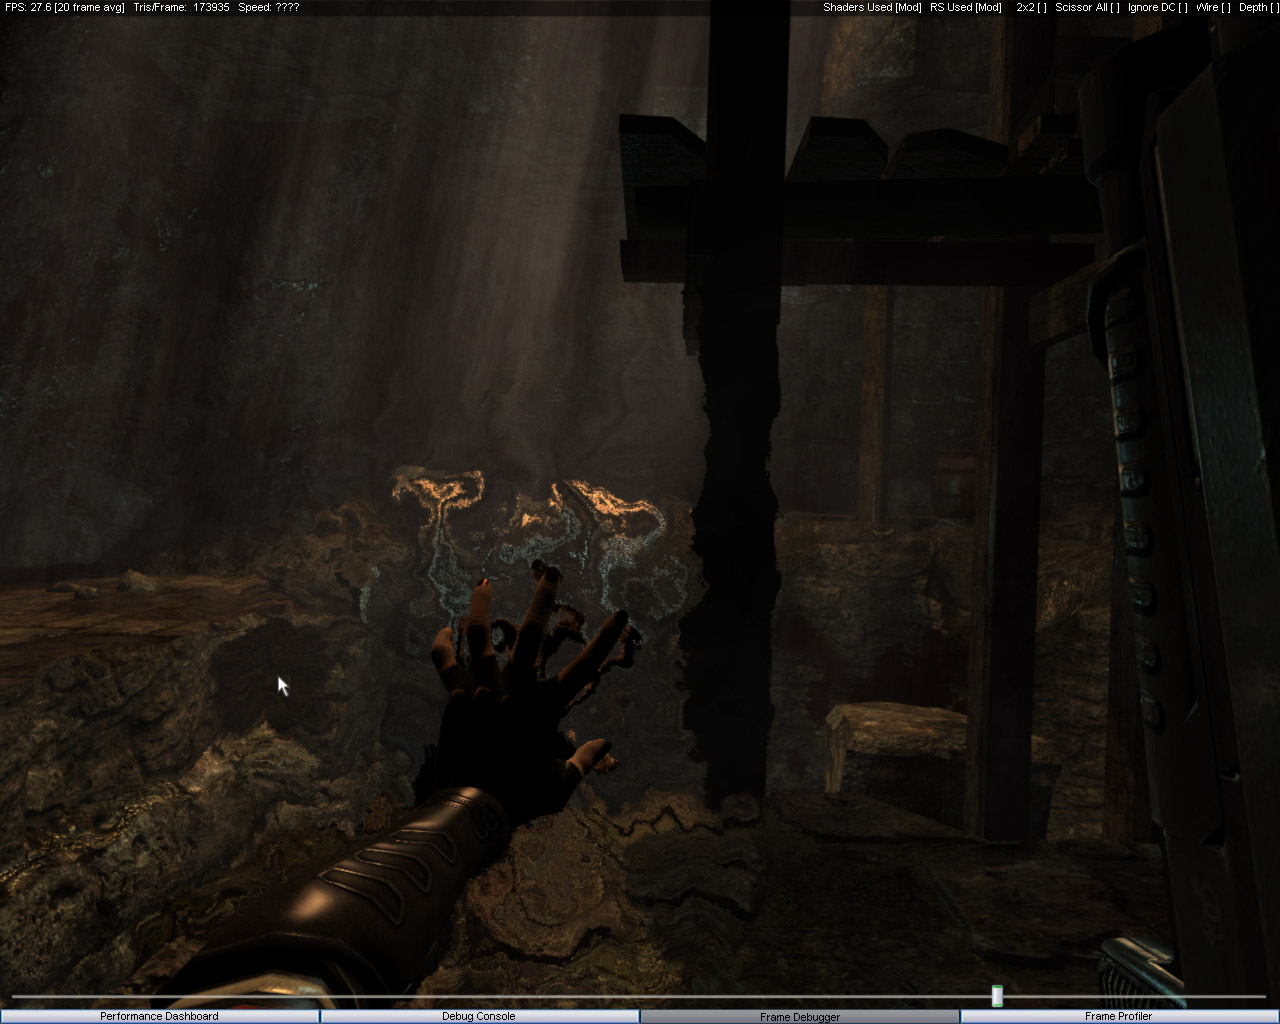
The resulting streaks are combined into a single image and blended with the original scene. Pay attention to the glow around the hand:
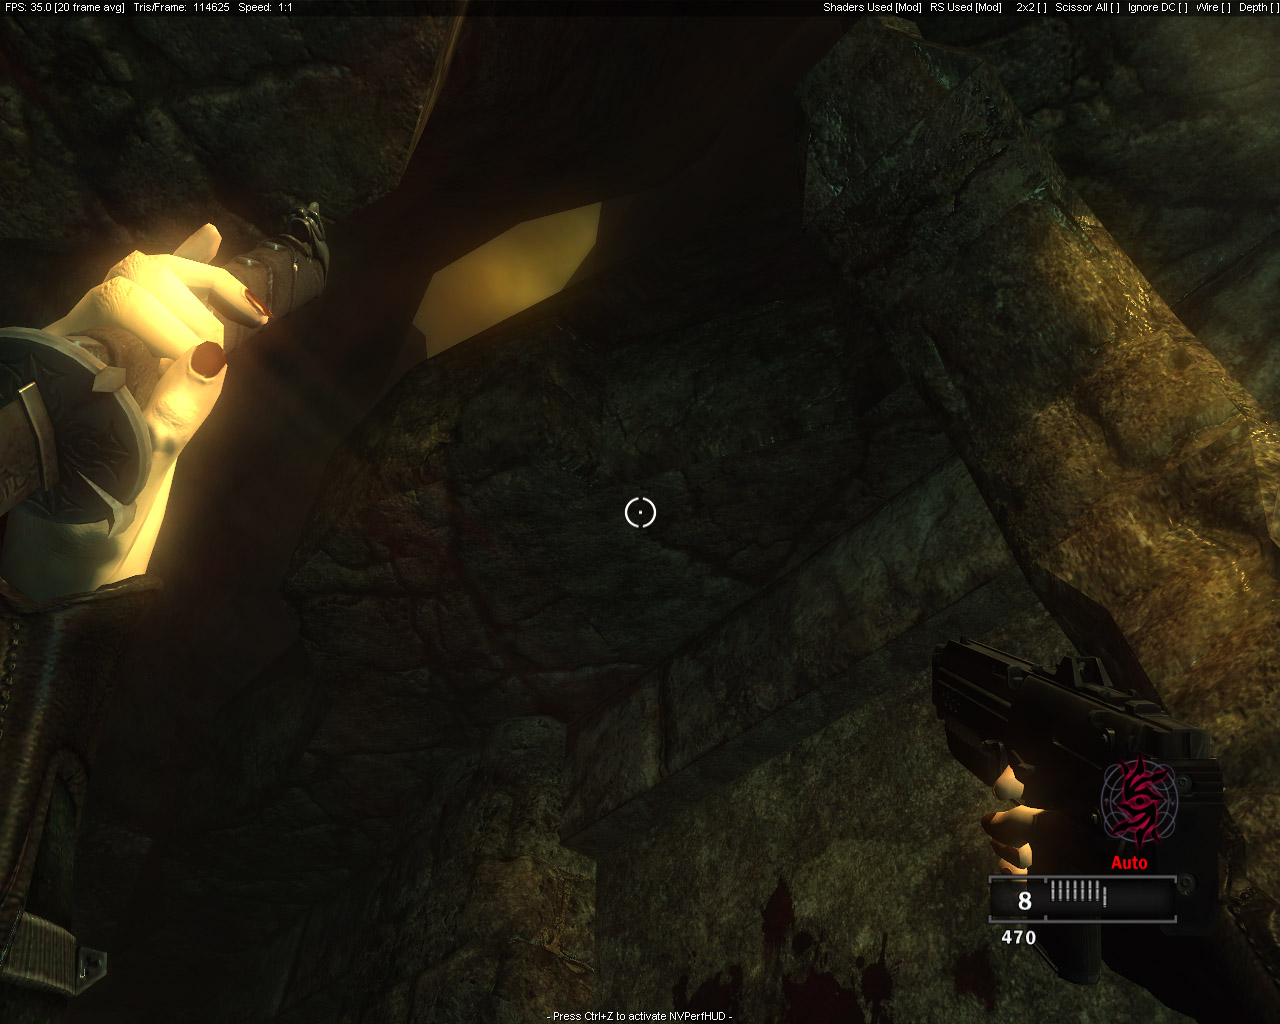
The final step is the UI. There isn't much of it. With 5 active light sources, the game produces roughly 1800 DIPs and up to 400K polygons per frame.
Average values are around:
1200 draw calls
200K polygons
All geometry uses unaligned vertex formats, although the data is somewhat compressed:
- positions stored as
float3 - normals stored as
short4n
The engine has good sorting both by shaders and by textures. The CPU doesn't spend its time stalled inside the driver, which is also good. The only thing that concerns me is the amount of texture memory in use. A whopping 550 MB. That's high-end gaming for you. :)
As a final note, I'd like to share a few thoughts on multi-pass rendering. For a long time I believed that, with modern long shaders, this approach had become obsolete. This reverse-engineering exercise clearly demonstrated that my conclusions were premature. The key is minimizing pixel-processing overhead and reducing the number of batches. The renderer in Clive Barker's Jericho shows excellent results in both areas.